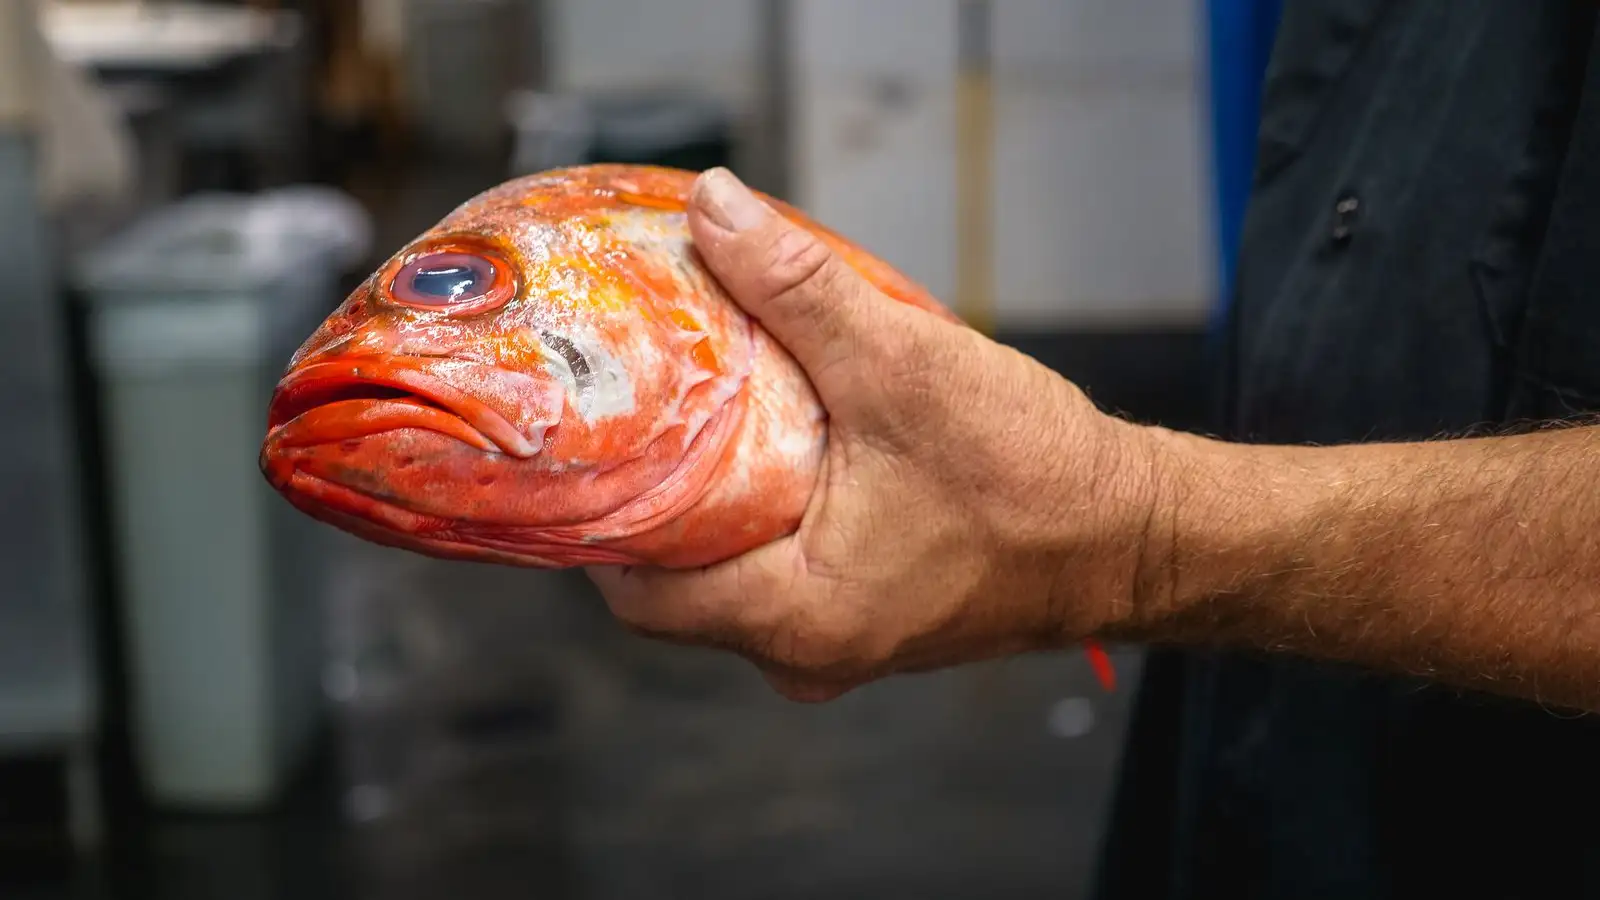
Clean fillets with no bones come from treating the fish as a shape instead of a slab of meat: find the rib cage by feel, ride the blade along the top of it rather than through it, take each side off in one piece, and handle the pin bones only after the fillet is lying flat on the board, where they pull clean instead of tearing flesh. A knife with enough flex to follow the curve helps, but sharpness matters far more than anything else about the tool.
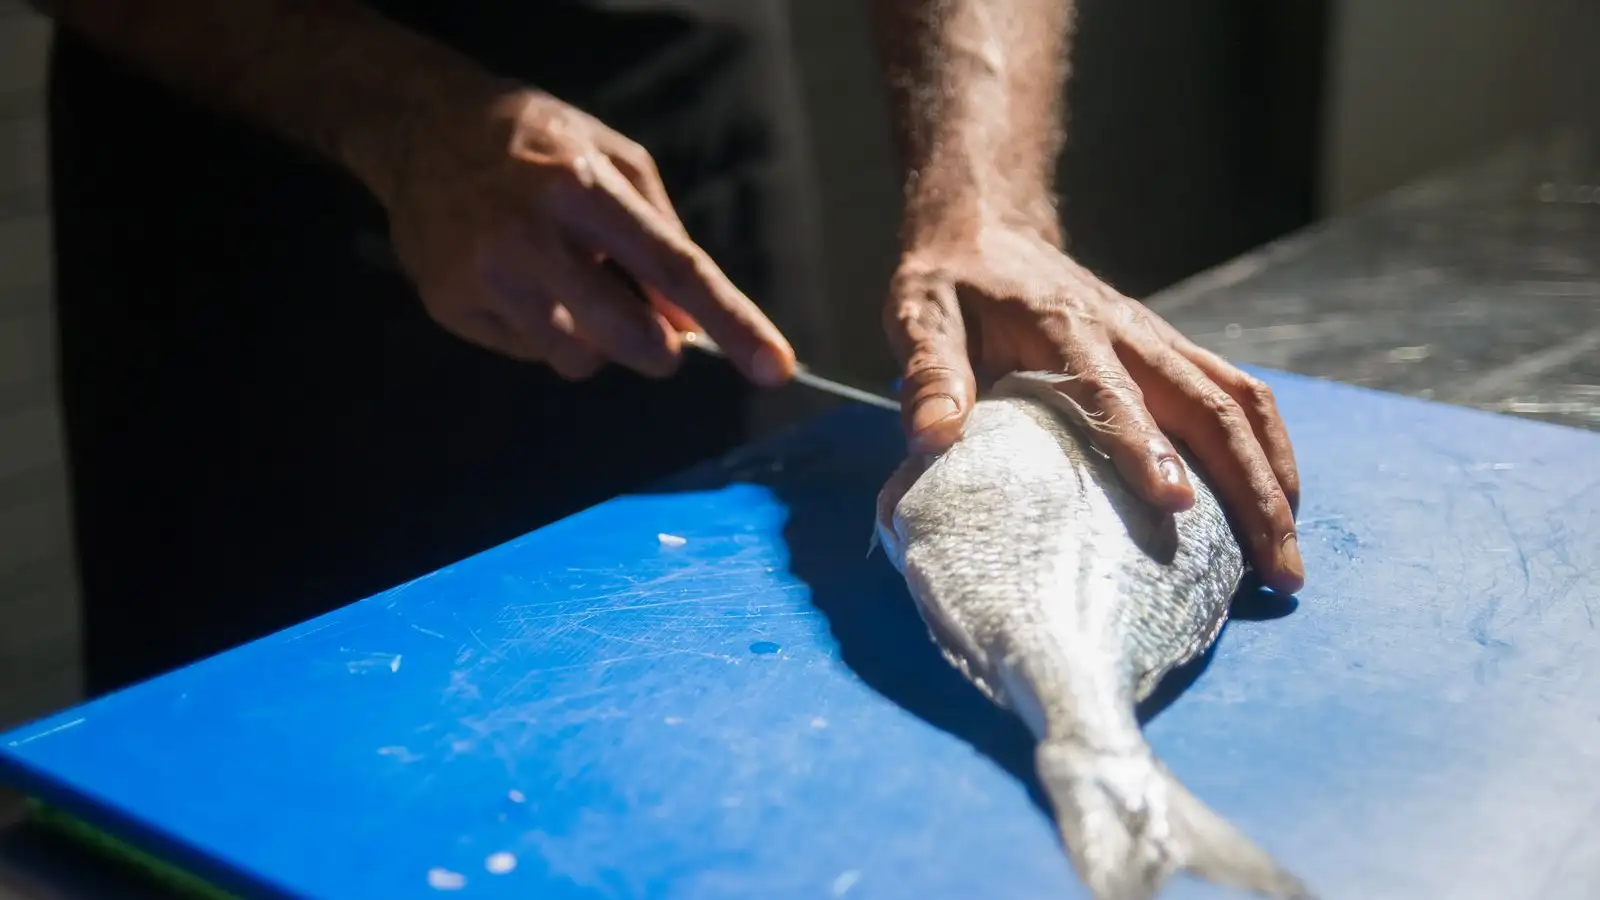
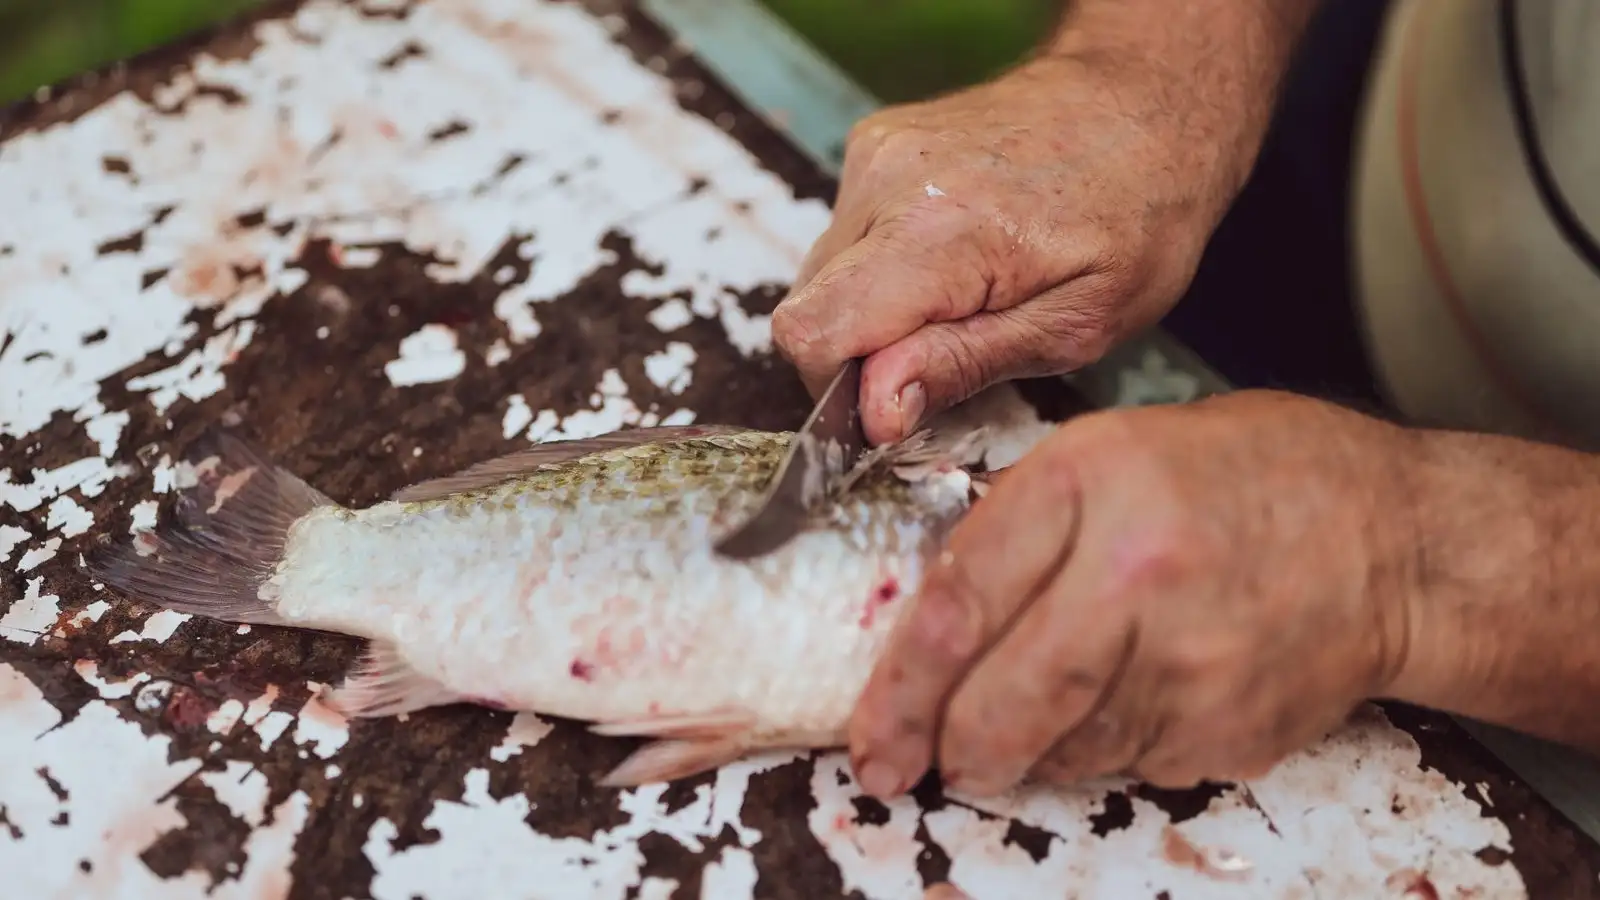
I keep two things at the board that have nothing to do with the knife: needle-nose pliers and a roll of paper towels. The fish lies head left, tail right, belly toward me, my off hand splayed flat across the flank to hold it down. If the board slides, nothing else works, so there is a damp towel under it. That is the entire setup.
The blade follows the bones, it does not cut through them
What you are looking at is a curved panel. The dorsal edge runs along the top, the belly edge along the bottom, head at one end, tail at the other. Somewhere in the middle of that panel sits a fan of ribs sweeping out from the spine and down toward the belly. On a round fish, those ribs curve, so a knife held at one fixed angle will eventually bury itself in bone.
The fix is to stop steering with your eyes and let the rib tips steer the blade. Slide the tip in and let it ride. You will feel a series of small clicks through the handle as it crosses each rib, and when you clear the last one, the resistance drops away entirely because you are out over open belly flap. That drop is the signal that the hard part is over.
Start the first cut right behind the pectoral fin. Push straight down until the blade stops against something solid. That is the backbone. Do not rock through it and do not force it; that stop is information, and it tells you where the far edge of the fillet is. Now rotate the blade toward the tail and work rearward, keeping the edge angled slightly up so you are skimming the ribs rather than slicing through them.
If the blade starts to stutter and grab, you have dropped into bone. Back off a hair, lift the spine side of the knife a few degrees, and it will slide again. Once you are past the rib cage, lay the blade flatter and use the backbone as a rail. It is straight, it is hard, and it will guide you all the way to the tail if you let it.
One tradeoff worth knowing before you blame yourself: a thin, flexible blade rides ribs beautifully and is miserable to push straight down through the spine at the head end, because it flexes instead of cutting. Use the heel of the blade, up near the handle, where there is far less spring. If you clean a lot of flatfish, or you skin every fillet, a stiffer knife will feel better in your hand for those jobs. There is no single knife that is best at all of it.
The first fillet is by feel. The second one is by sight.
This is why I take the side I am less comfortable with first. Flip the fish once that fillet is off and the skeleton stands there open, every rib visible like fingers on a hand. Now you can see the exact path you had to find blind on the other side, and the second fillet comes off in half the time because you are no longer guessing.
Peel the fillet away from the frame as you go instead of sawing it free at the end. Lifting as you cut keeps the flesh from folding back over the blade, and it shows you where the belly meat is still attached near the head. A lot of people leave a third of the fillet on the frame because they quit early and never felt that last connection.
Flatfish: four panels, one spine
A flounder or a halibut is not a round fish squashed flat. It is a different geometry, and if you cut it like a bass you will end up with two ragged halves instead of four clean ones.
Both sides of the fish are a flat plane, and each plane splits into two fillets, a dorsal half and a ventral half, separated by the ridge of the spine running down the middle. That is where the four fillets come from.
Find the spine ridge with your thumb before you cut anything. Make a shallow cut right along that line, from behind the head down to the tail, straight down to the bone. Then walk the blade flat out to the top edge, following the short ribs, same ride-the-ribs feel as before but on a much shallower curve. Come back to the center line and do the same down toward the belly edge. Flip and repeat.
Flatfish ribs are short and clustered close to the spine, so most of each fillet is open, rib-free ground. That is the good news. The bad news is the frame is thin, and it is easy to cut through it and into the fillet underneath, so keep the blade shallow.
Pin bones pull. Y-bones do not.
Salmon and trout carry a row of pin bones along the lateral line, and they are angled forward toward the head and slightly down into the flesh. That angle is the whole trick, because pulling straight up snaps them off and leaves the shafts behind.
Find them with your fingertips first. Run your hand down the fillet from tail to head, pressing lightly, and the tips will catch on your skin. Grip with the pliers right where the bone meets the flesh, not out at the tip where it slips. Then pull forward and up, following the angle the bone already lies at, roughly thirty to forty-five degrees off vertical. They come out with a soft pop and take almost no meat with them.
If one snaps, do not move on. A broken shaft is easy to find now and easy to forget later, and it is the one somebody finds with a tooth. Feel for the stub and re-grip lower, closer to the flesh.
Not every bone in a fish pulls. Northern pike and pickerel have Y-bones, forked bones that run off the spine and do not behave like pin bones at all. Pliers will not save you there; those get cut out. On a walleye, the pin bones are small and numerous enough that plenty of people skip the pliers entirely and make a narrow V-cut along the lateral line, taking the bones out with a thin strip of flesh. That is a legitimate call, not a shortcut. And on a seven-inch panfish, pull nothing. The bones are fine and thin, and the whole exercise is a waste of a good afternoon.
Skinning: the skin is your handle
Lay the fillet skin-down, tail toward you. Pin the tail flap with your off hand and lift it just enough to put tension in the skin without lifting the fillet off the board.
The blade goes in almost flat, angled down maybe ten or fifteen degrees toward the skin, and it should be slicing, not pushing. Move the knife more than you move the fish. Short strokes, tail to head.
There are two ways to ruin this. Let the blade climb, and you shave good flesh off into the skin. Let it dive, and the skin bunches ahead of the edge and tears. Keep the knife nearly flat and keep the skin taut, and the blade finds the seam between skin and flesh on its own, because that seam is a natural plane, softer than either side of it.
Rinse, dry, and hold it up to the light
Cold clean water, quick. Ten or fifteen seconds is enough to flush blood and loose scales out of the crevices. Longer than that and the fresh water starts pulling at the flesh, and a thin fillet left sitting in a bowl goes pale and waterlogged. Pat it dry with the towels, especially if you plan to sear it, because surface water is the enemy of a crust.
Then run a fingertip down the whole length one more time. If you want a final check, hold the fillet up against a window. Backlit, the leftover rib fragments and pin bone stubs show up as thin dark lines that your fingers already found and your eyes are just confirming.
That is the whole thing. The fish is telling you where its bones are the entire time. You just have to stop fighting it with the blade and start listening with your hands.