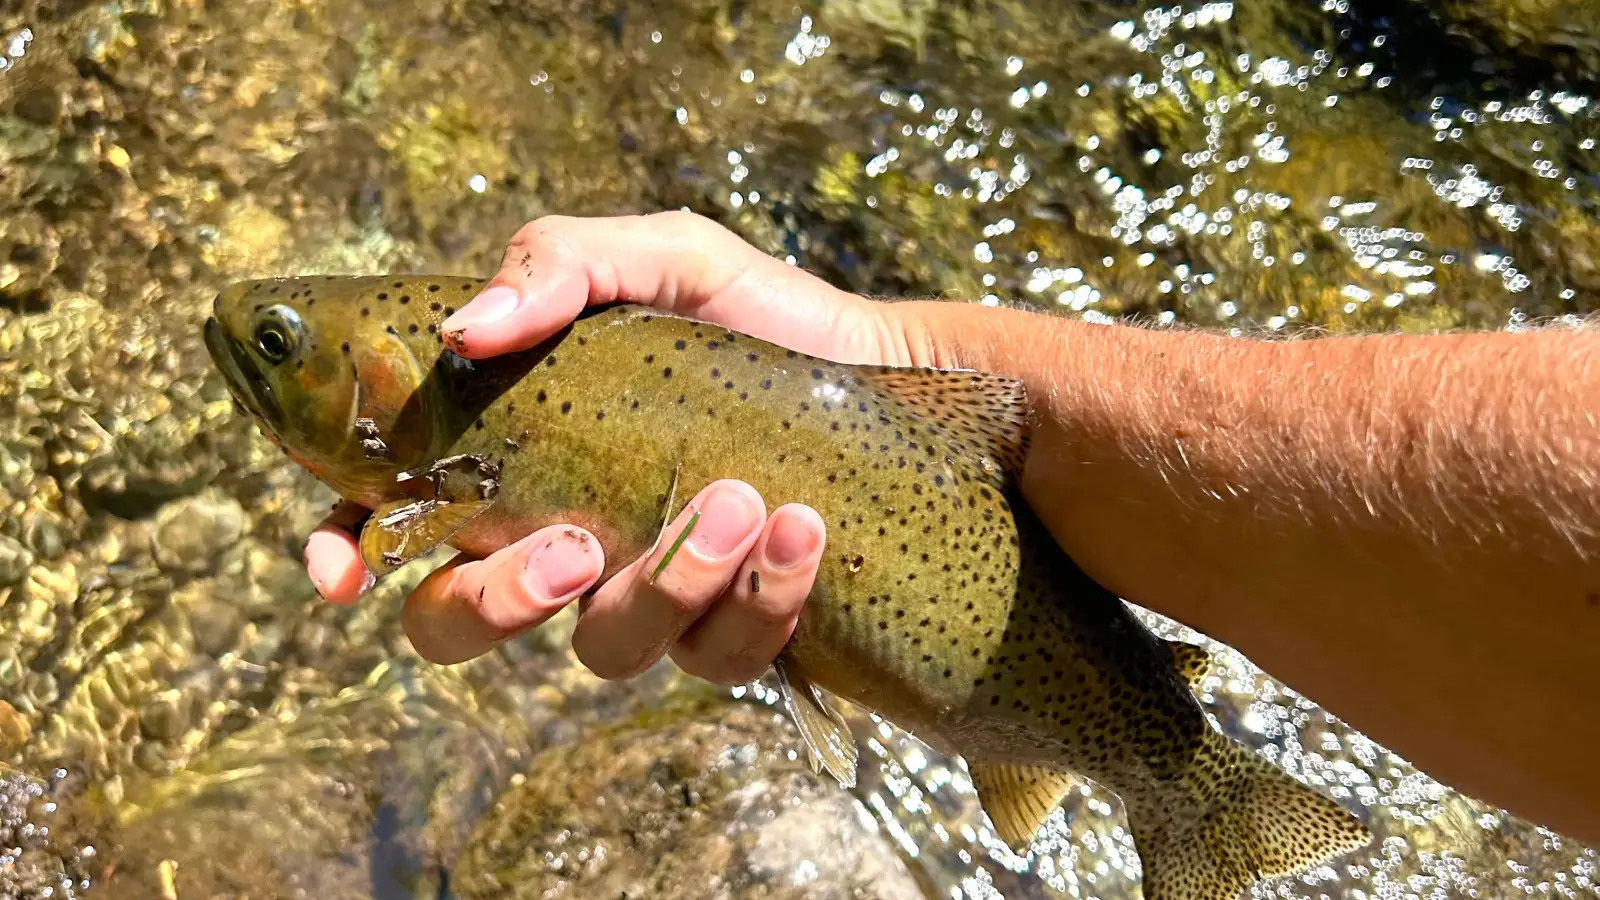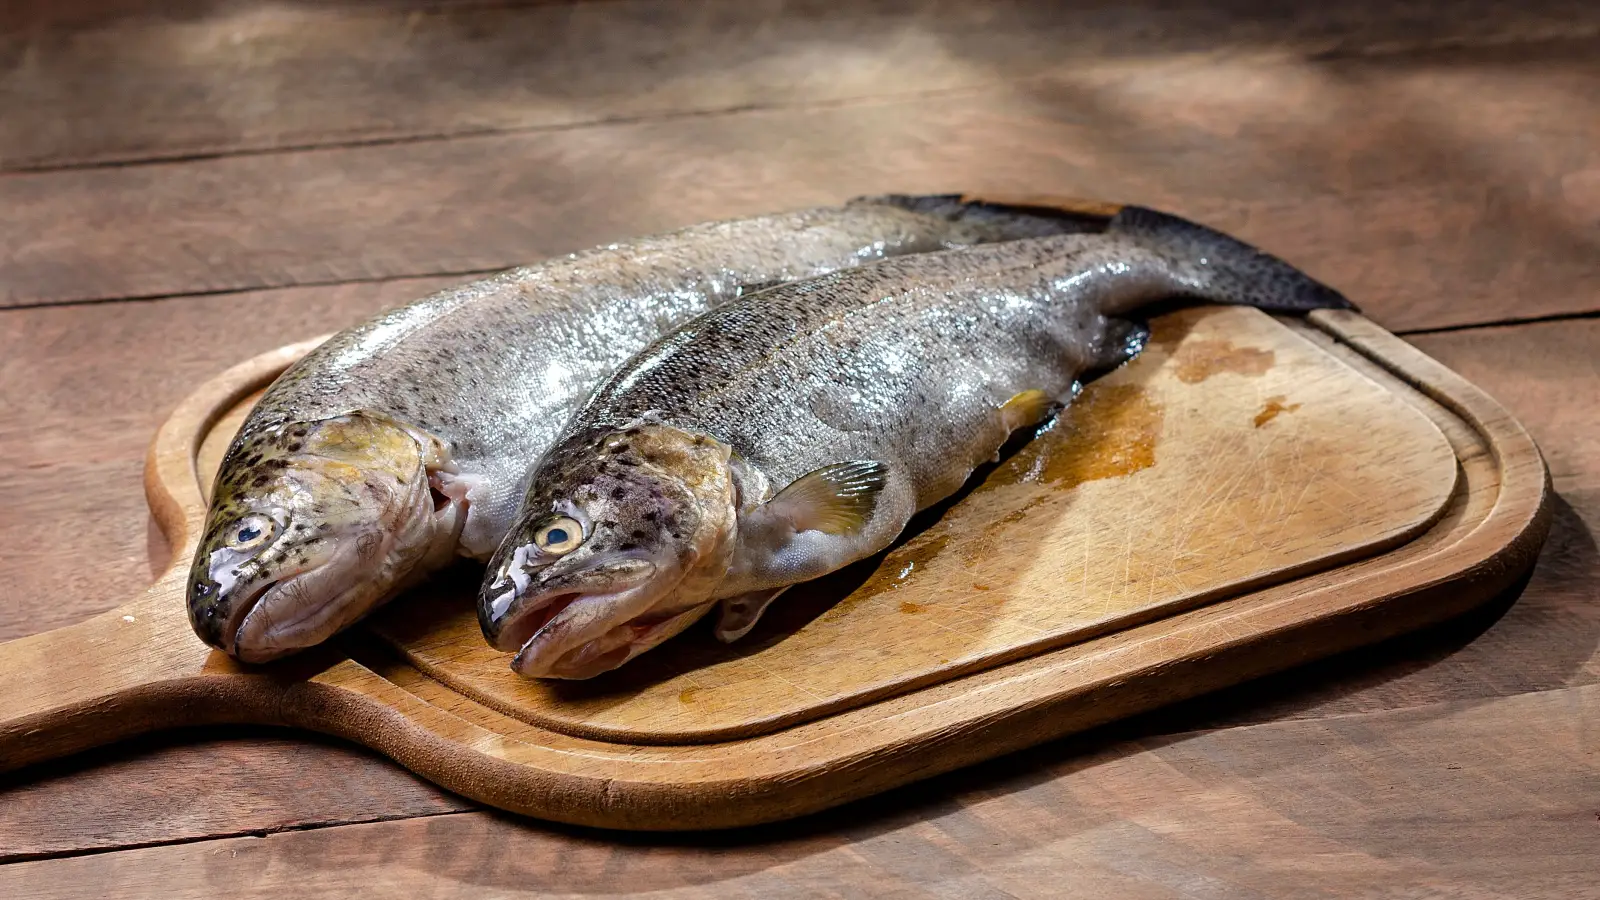
Most trout anglers clean their catch by bleeding it right away, gutting it, and pan‑frying it with butter and lemon. But a great trout dinner doesn’t start at the cleaning table — it starts with how the fish is handled the moment it’s hooked. A short fight, a calm landing, and quick bleeding do more for the taste and texture than any gadget ever could. That’s the simple, honest difference between a meal you’re proud of and one you’d rather forget.
The Tools and Know‑How That Make Cleaning a Pleasure
You don’t need a tackle box full of specialty gear. A few reliable items and a little knowledge are enough. Here’s what most seasoned anglers reach for:
- A 6‑inch flexible fillet knife, sharp enough to glide through the skin with one stroke
- A sturdy cutting board you can really press into
- A bowl of ice water for chilling fillets the moment they come off the fish
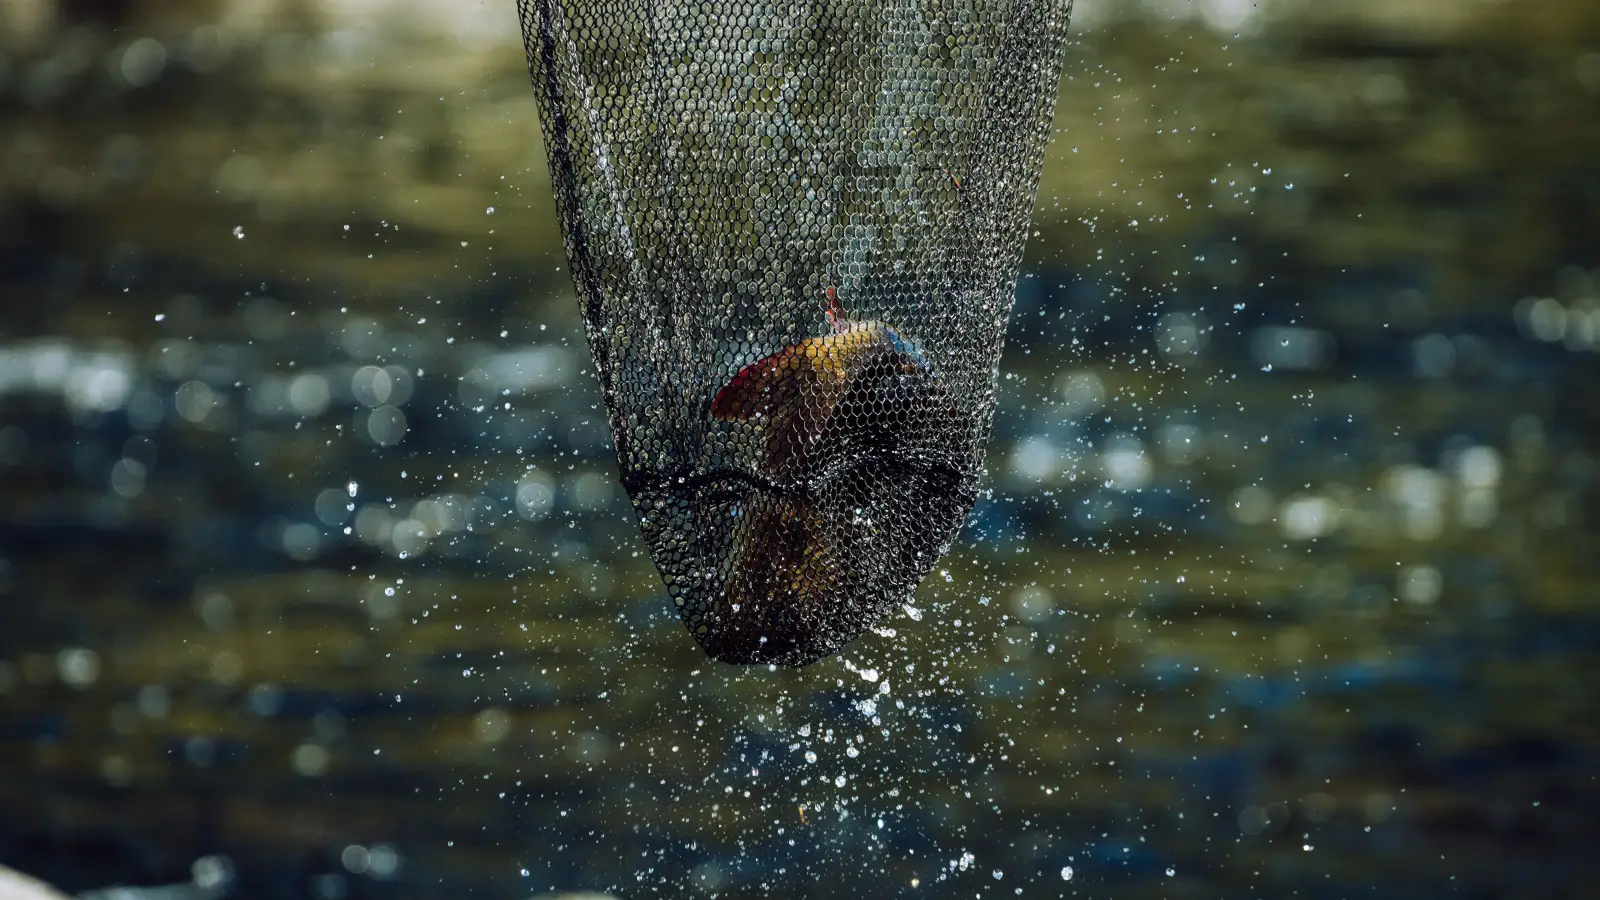
- A rubber‑mesh landing net that treats the trout’s slime coat gently
- A small wooden club or priest for a swift, humane dispatch
- Needle‑nose pliers for removing hooks without tearing the mouth
- A cooler packed with ice for the ride home
And the knowledge that’s worth having? You’ll want to know exactly where to cut for bleeding — the soft tissue between the lower gills — and you’ll want to understand that every second a trout struggles on the line floods the muscle with acids that can leave the meat soft and off‑tasting. A little anatomy lesson now saves disappointment later.
From Net to Plate: The Steps That Deliver a Trout Worth Sharing
1. Land the Trout and Dispatch It Swiftly
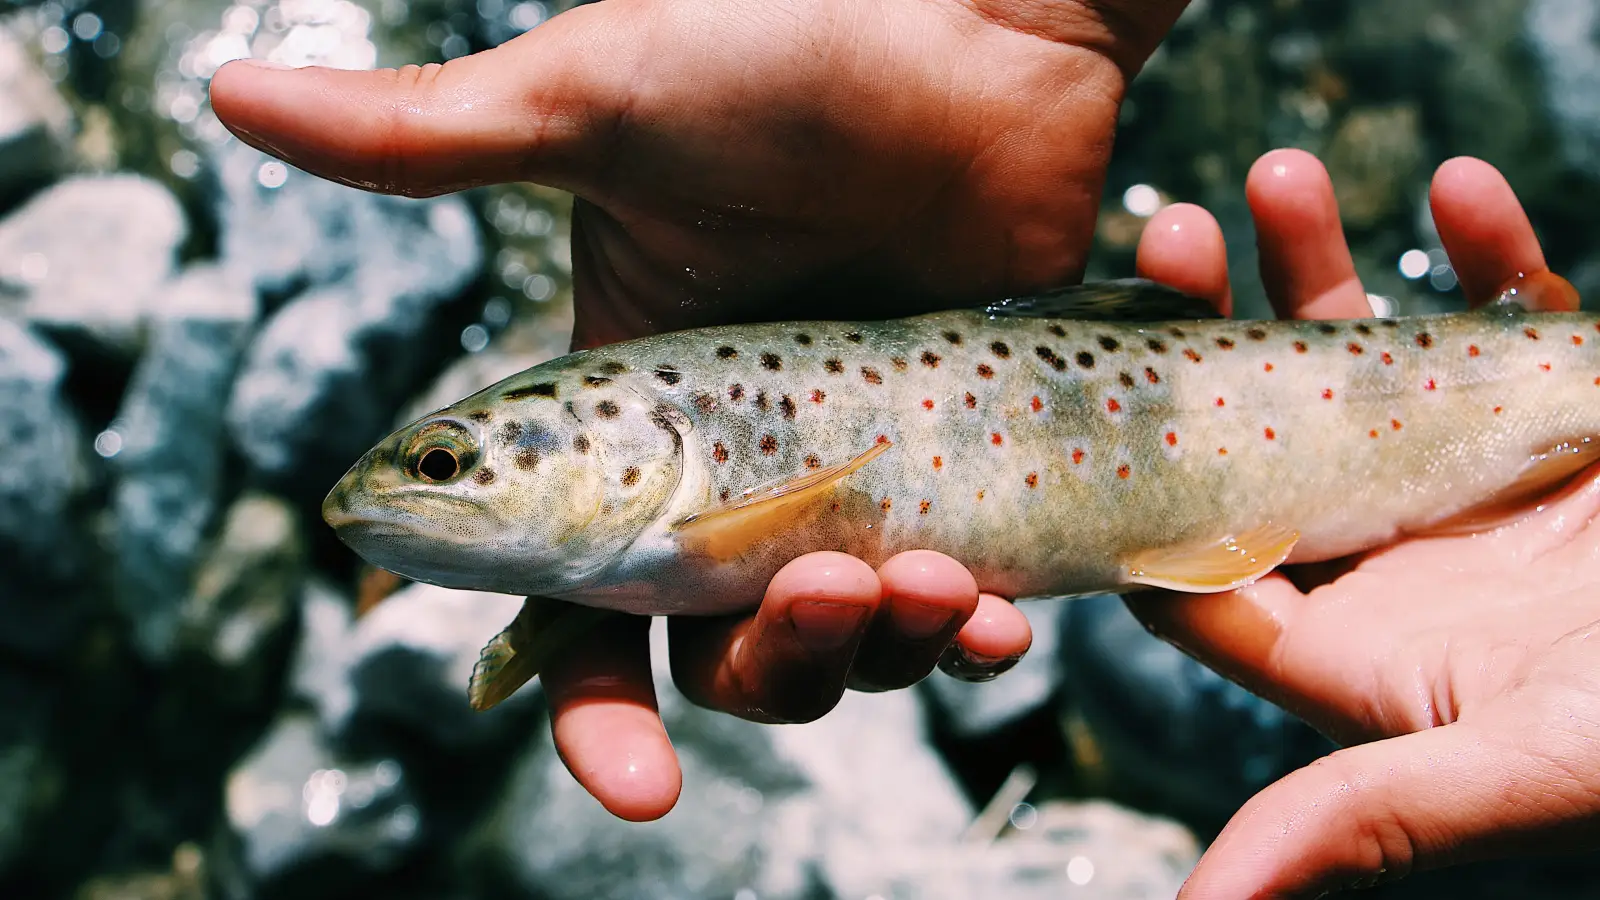
Keep the trout in the net, in the water, while you unhook. Those few quiet seconds let the fish calm down and stop thrashing. Then, without lifting it into the air, one firm blow to the top of the head with the priest ends things instantly. A quick death means the muscle never has time to release the bitter compounds that show up on the plate. It’s the single kindest thing you can do — and the flavor will thank you every time.
2. Bleed the Fish While the Heart Is Still Pumping
Right after dispatch, hold the trout belly‑up and slice through the isthmus, down to the spine. You’ll see the big blood vessels open. Let the current or gravity carry the blood away for a minute. Bleeding pulls out the strong, metallic flavors and keeps the fillets looking pale and clean. If you wait even a minute, the blood clots in the flesh, and you’ll taste it no matter how you cook.
3. Gut the Trout Without Spiling the Gall Bladder
Place the bled fish on the board. Start the knife at the vent and draw it up to the jaw, just deep enough to open the belly wall. Spread the cavity, hook your thumb behind the gills, and pull the guts out in one steady motion. Watch for the tiny, green gall bladder attached to the liver — one pop of that little sack and the meat turns bitter. After the entrails are out, scrape the dark kidney line along the backbone with a thumbnail, then give the cavity a quick rinse in cold water. Never let the fish soak; freshwater soak turns the flesh spongy and washes out the delicate flavor.
4. Fillet the Fish and Use Every Bit of It
Cut diagonally behind the head to the backbone, then turn the knife flat and run it along the spine all the way to the tail. Let the blade ride the ribs — you’ll feel them — and use long, smooth strokes. Lift the first fillet, flip the fish, and do the other side. Run your fingers over the meat to find the pin bones; pull them out with tweezers or needle‑nose pliers. Don’t toss the frame: bag it up and later simmer it with onion, celery, and a splash of vinegar for a stock that makes any soup richer. This way, almost nothing goes to waste, and one trout becomes the center of two or three meals.
5. Pan‑Fry Simply and Let the Trout Speak for Itself
Dry the fillets well — damp skin won’t crisp. Season with salt and pepper, and if you want a light crust, dust them with flour and shake off the excess. Get a skillet hot over medium‑high, add butter, and wait for the foam. Lay the fillets skin‑side down and don’t touch them for three to four minutes, until they release on their own and the skin is golden. Flip once, cook another minute, and take them off the heat immediately. A squeeze of lemon and a few sprigs of dill are all the finishing touches you need. Watch the heat carefully; trout goes from perfect to dry in seconds, so pull it just before you think it’s done.
Pitfalls That Turn a Beautiful Trout into a Disappointing Dinner
Wearing a Fish Out During the Fight
A long, drawn‑out battle might be exciting, but it floods the muscle with stress by‑products. The result is flesh that turns soft and mushy in the pan. Use tackle that lets you bring the fish in quickly, and remember that a fast release — or a fast dispatch — is better for the meat than a photo shoot.
Skipping the Bleed or Cutting It Too Late
Once the heart stops, blood pools in the veins and stains the flesh. Cut those gills seconds after dispatch, not a minute later. A clean bleed is the difference between bright fillets and a muddy‑looking plate.
Popping the Gall Bladder While Opening the Belly
This is the one mistake that can ruin the entire fish. Work slowly, keep the knife tip shallow, and pull the entrails away without jerking. If the green sack does break, cut away all the tissue it touched — rinsing won’t save you.
Filleting With a Dull Blade
A dull knife tears the meat, wastes good fish on the bones, and makes slips far more likely. Hone the edge before every fish, or at least give it a few licks on a steel. You’ll work faster and safer.
Overcooking the Fillets
Trout is lean and delicate — it cooks in a flash. Pull the fillet from the heat while the very center still shows a hint of translucence. By the time it hits the plate, carryover heat will finish it perfectly. A fork test is all you need; when the flakes separate easily, it’s ready.
Questions That Come Up After the First Few Trout Dinners
Do trout need to be scaled?
No. Their scales are tiny and soft, so they become completely unnoticeable once cooked. A quick rinse is all that’s needed.
Can you eat trout skin?
Yes, and you should. When pan‑fried until crisp, the skin adds a delicious, nutty crunch. Just make sure it’s clean and the fillet has been handled carefully.
How do you remove pin bones after cooking?
Run your finger along the midline of the cooked fillet to feel the row of fine bones, then grab them with tweezers or a fork and pull gently in the direction they point. It feels slow the first time, but soon it becomes a quick, almost automatic step.
Is it safe to eat trout raw?
Freshwater trout can carry parasites, so raw consumption isn’t safe unless the fish comes from a farm that guarantees it for sashimi. Always cook wild trout thoroughly.
What’s the best way to store trout before cooking?
Put cleaned fish or fillets in a zip‑top bag, squeeze out the air, and bury the bag in crushed ice inside a cooler. Never leave trout sitting in water — it makes the flesh soggy and dulls the flavor. Cook within 24 hours for the best results.
What to Try Next After This First Perfect Plate
You’ve now taken a trout from the water to the table in a way that honors the fish and makes the cook look good. The next adventure is waiting: simmer the saved frames and trimmings into a stock that turns rice or soup into something special, try a quick dry‑brine and smoke over alder chips, or experiment with a few fresh herb combinations — tarragon and chive, or dill and lemon zest. Every trout you catch from here on out is a chance to get a little better, a little faster, and a little more confident that the meal waiting at home will be the best part of the day.