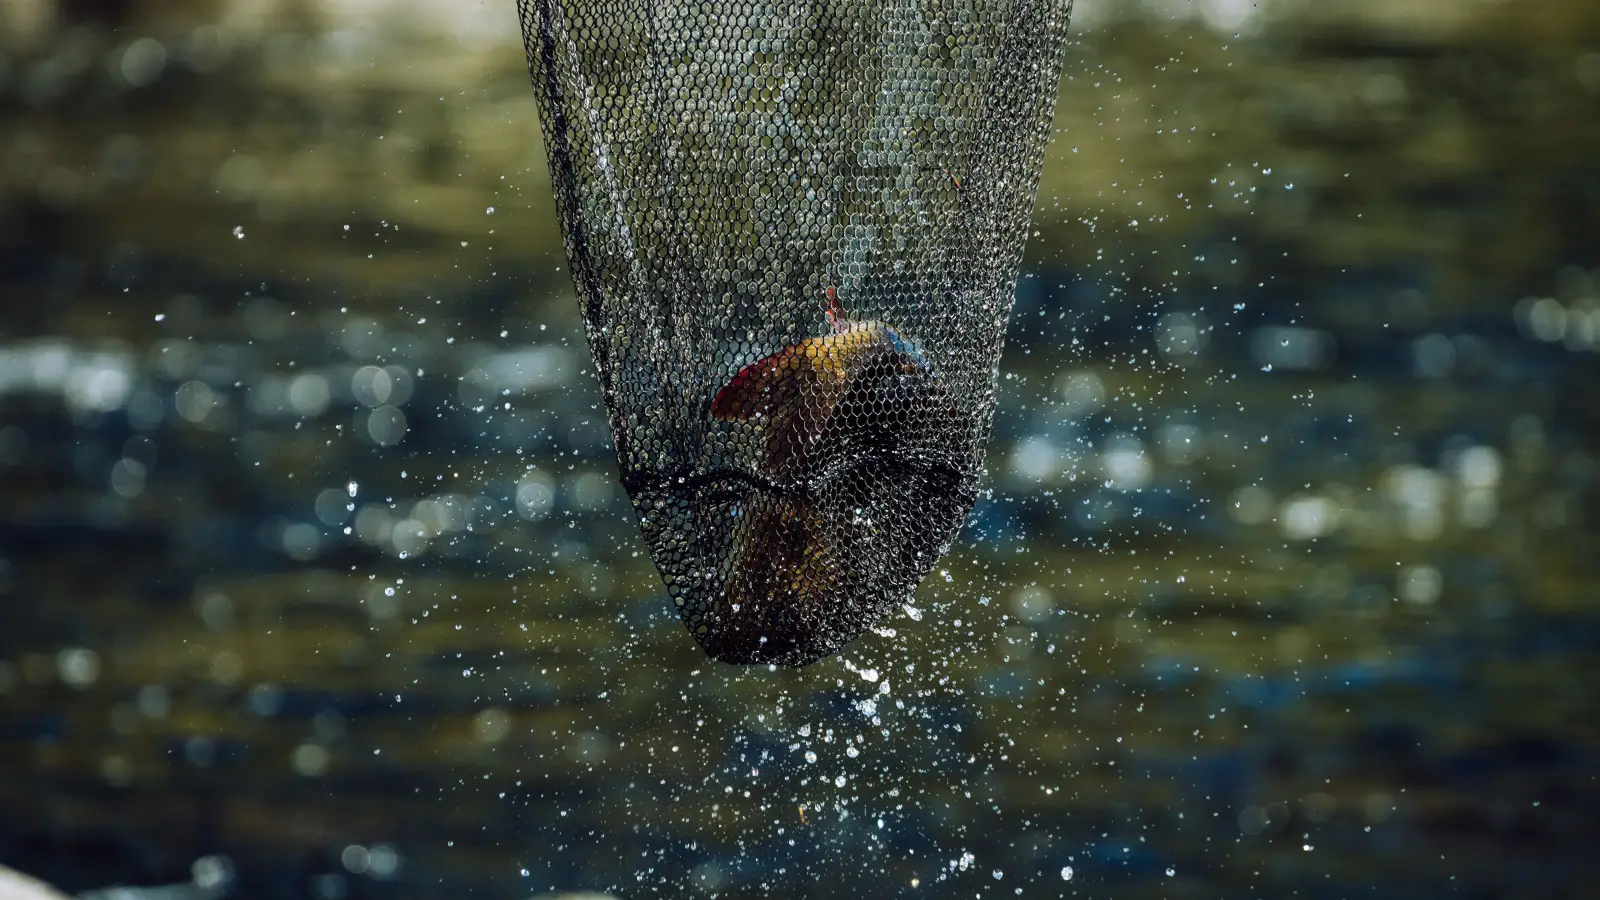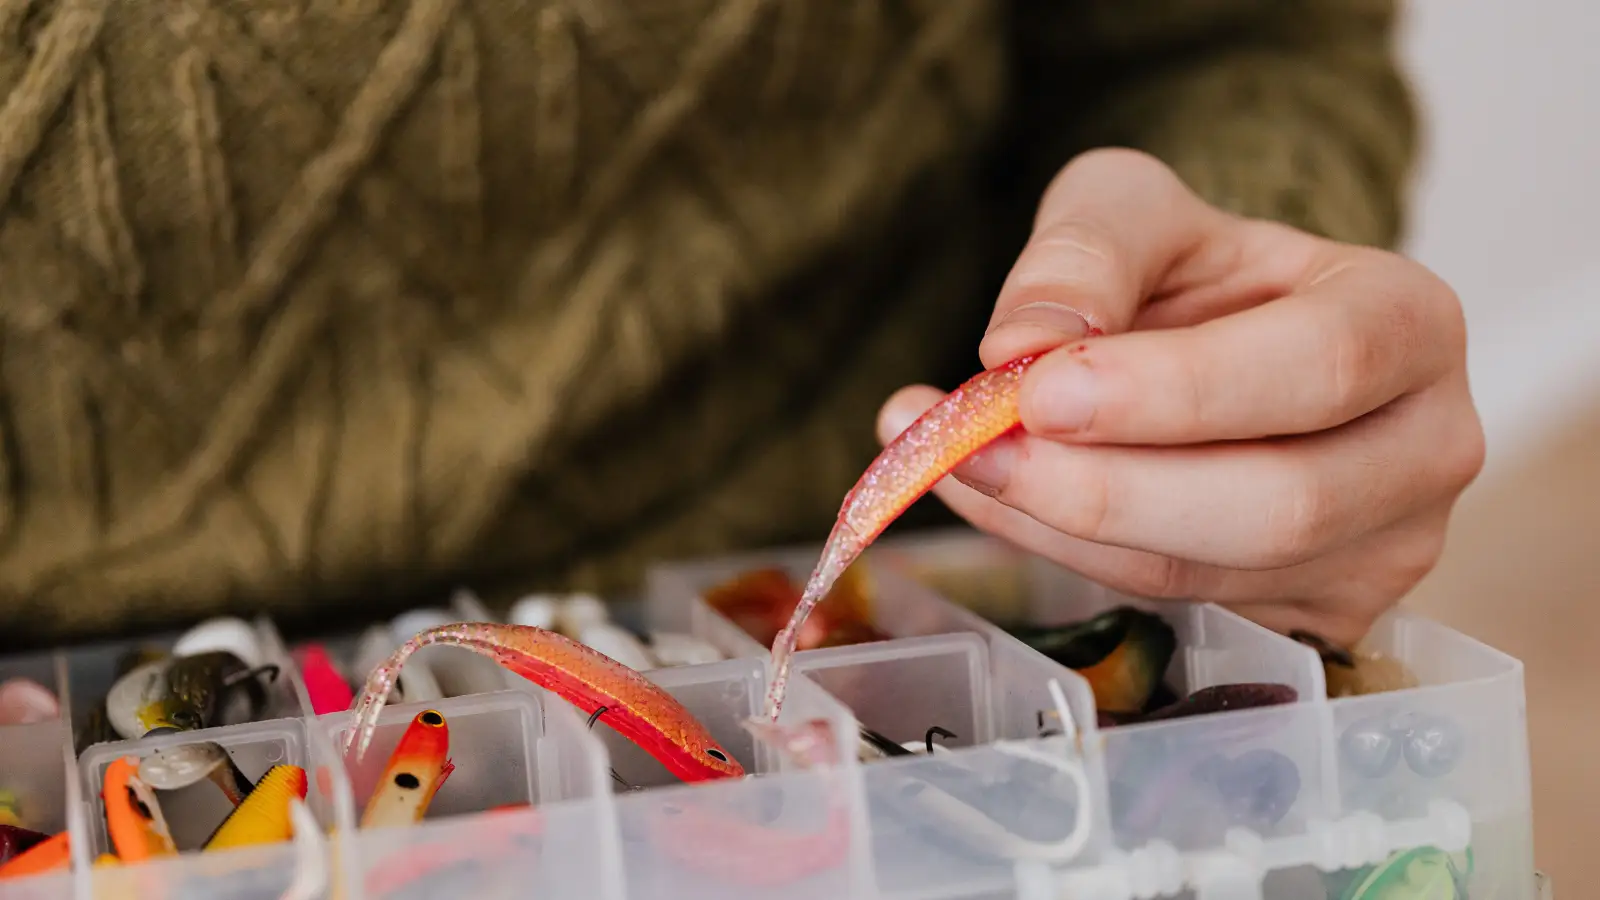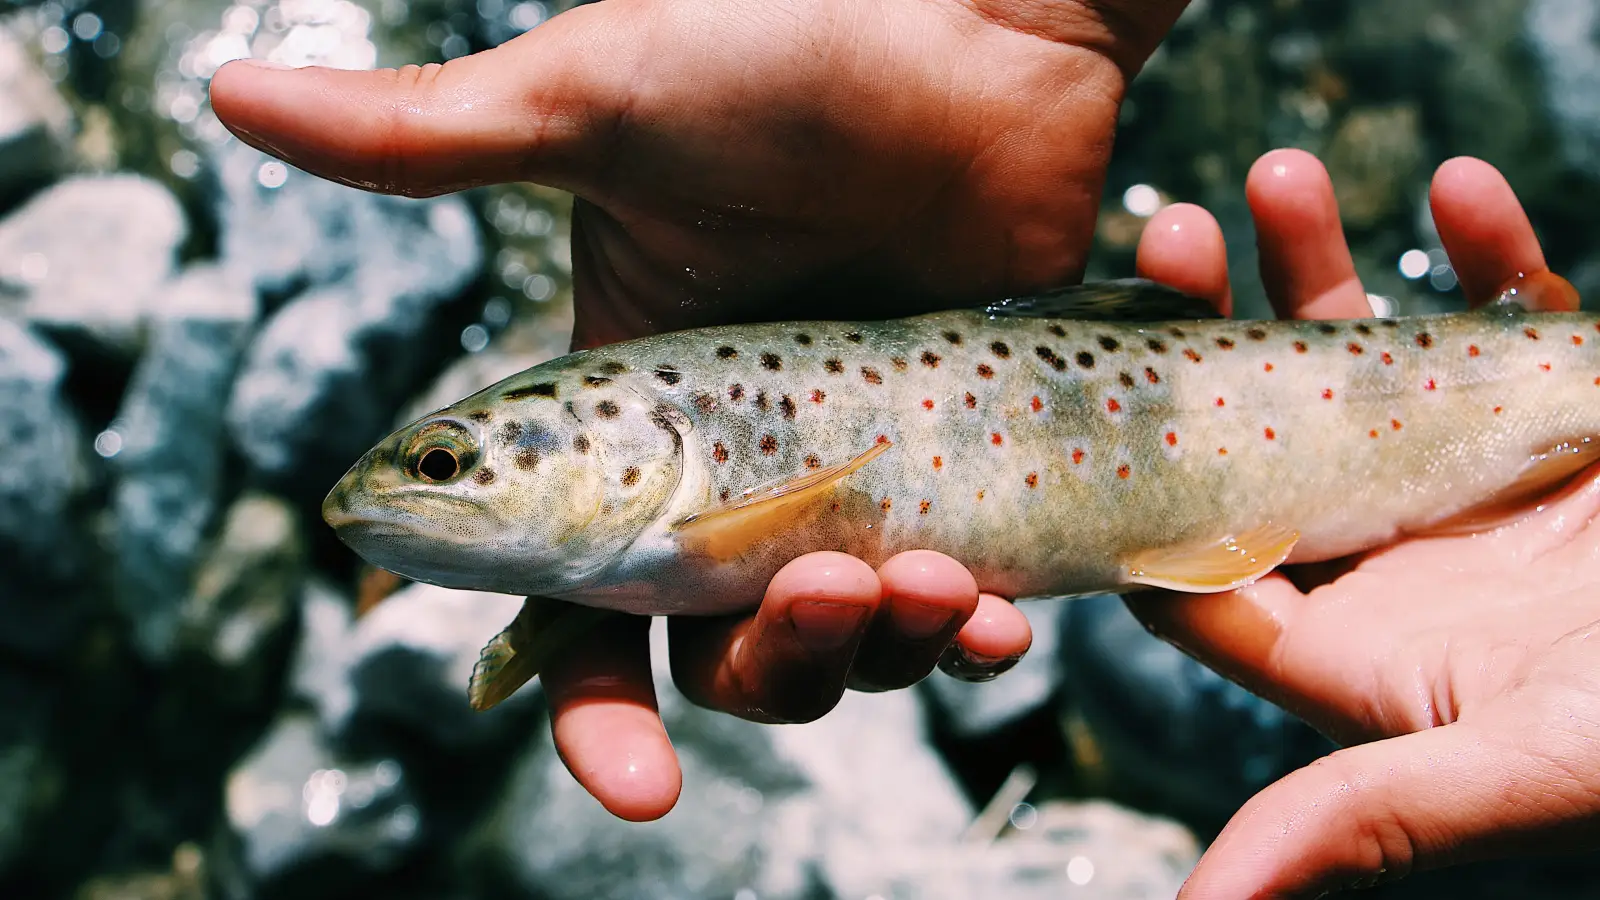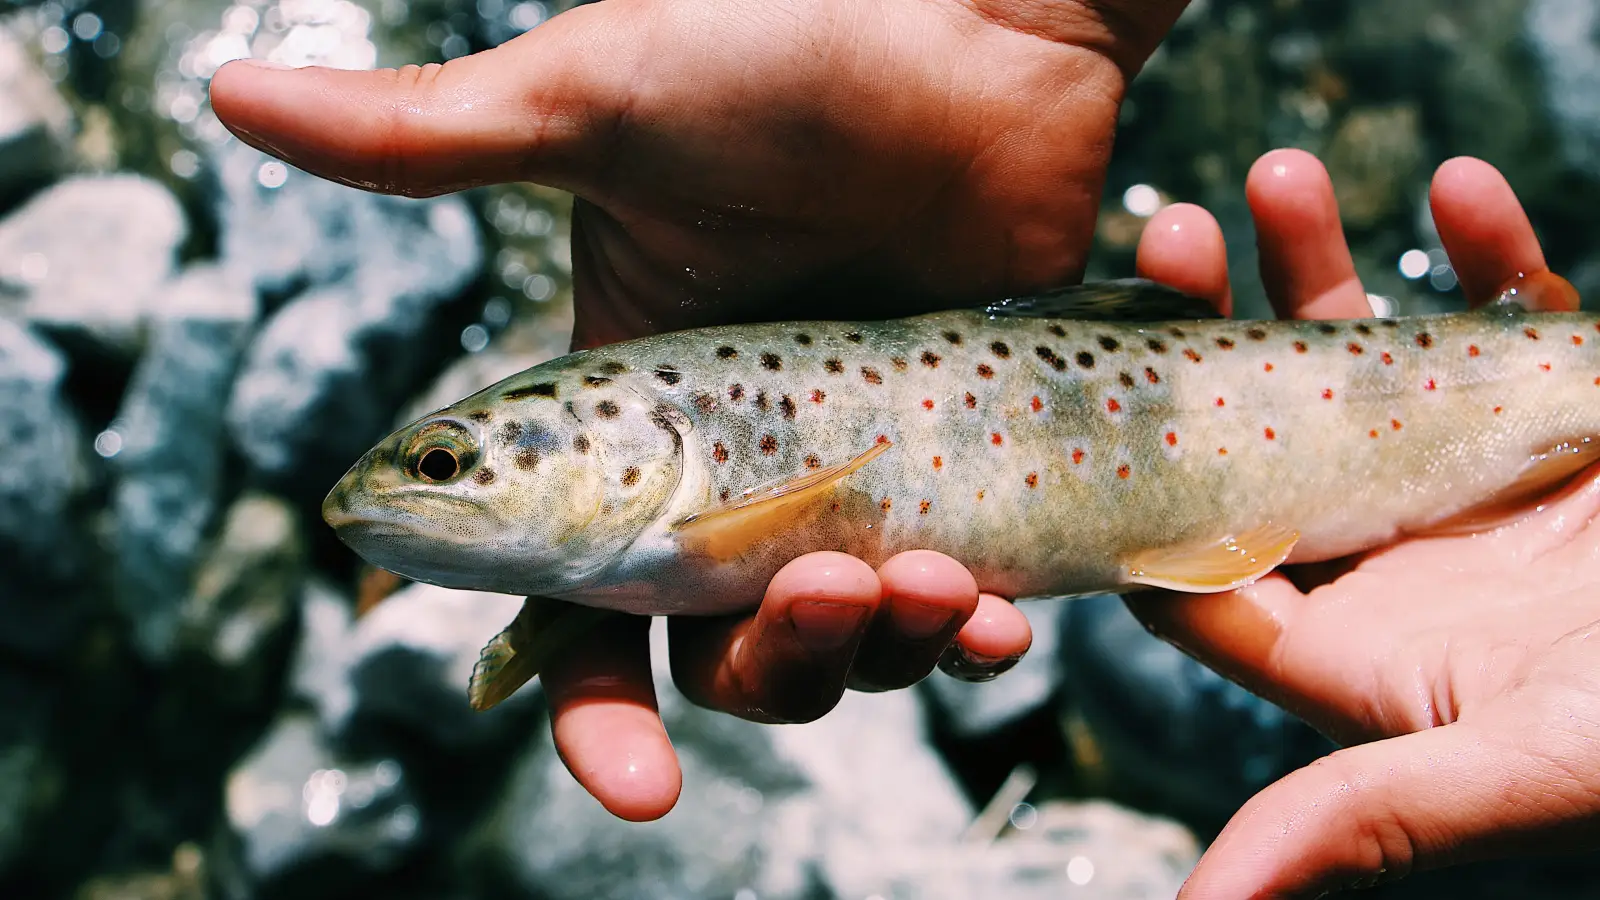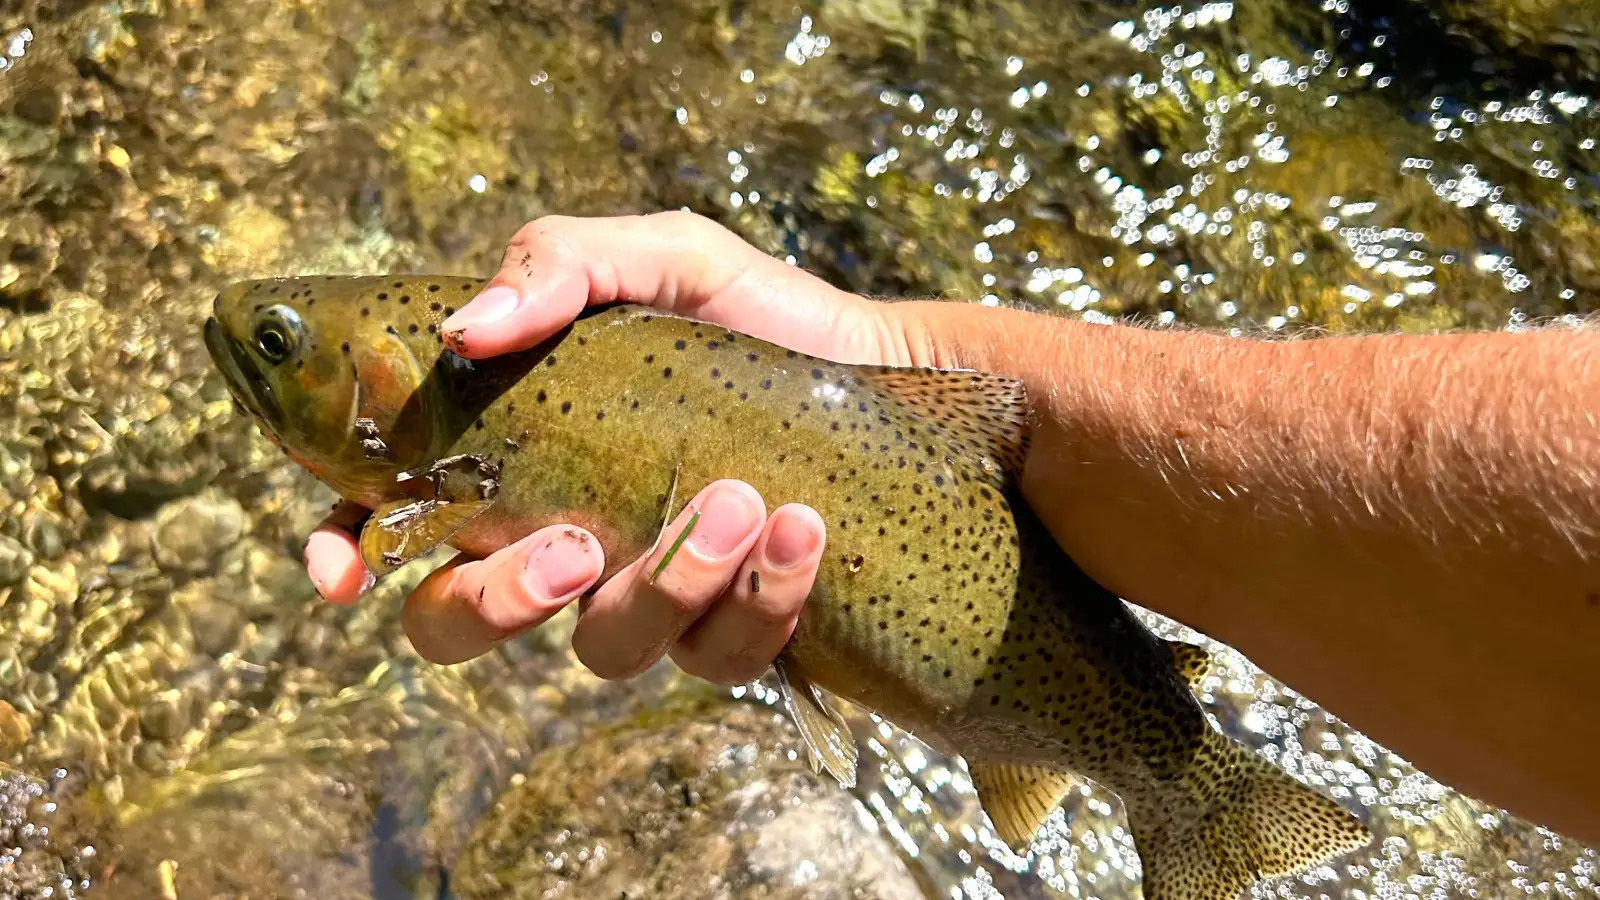
A trout comes off on the hookset. The tippet end is curled, the knot gone. That failure often traces to the Clinch knot—reliable in many situations, but not when using fine fluorocarbon, light-wire hooks, or drifting dry flies. The solution is not a single replacement knot, but three specific alternatives chosen for the exact scenario: the Double Davy stops fluorocarbon slippage, the Non‑Slip Loop restores natural dry-fly action, and the Orvis knot delivers maximum strength in a tiny package for small flies and light tippet.
Why the Clinch Knot Fails Trout Anglers
The goal is to eliminate knot failures that cost trout. The most common scenario is a fly angler tying an Improved Clinch on 5X or lighter fluorocarbon, then watching it slip or break during the hookset. Fluorocarbon is harder and slicker than nylon; the Clinch’s simple coils do not bite into it well. When they do hold, the knot’s tightening action can compress the line into a kink that weakens the tippet right at the hook eye. And for dry flies, a fixed knot locks the fly’s attitude: it cannot pivot on the drifts, so the drag-free presentation that selective trout require never materializes.
These failures are predictable—they show up most on tiny midges, emergers, and nymph rigs where the tippet is light and every ounce matters. The Clinch still works for many heavy-mono situations, but these three specific weaknesses demand targeted knot choices.
The Quick Swap: Three Knots to Tie Instead
- If fine fluorocarbon tippet slips out of the Clinch, tie the Double Davy knot.
- If your dry fly or emerger needs an unimpeded drift, tie the Non‑Slip Loop knot.
- If you need maximum strength in a tiny knot for small flies and light tippet, tie the Orvis knot.
Step-by-Step: Matching the Right Knot to Your Rig
1. Identify the Weakness in Your Current Setup
Diagnose what the Clinch is doing wrong before you choose a fix. Look for these signs:
- Slippage: The tippet end is straight and smooth, with no curl. The knot pulled apart completely. This means the coils lost grip—typical with fluorocarbon.
- Poor drift: The dry fly skates or drags unnaturally, refusing to sit still on the surface. The rigid knot is locking the fly’s attitude.
- Breakage at the knot: The tippet snapped at the hook eye, often with a clean end. This signals the knot crimped and weakened the line or over-tightened against the wire.
2. Select the Correct Knot Based on Tippet and Fly Type
Once the failure is clear, the path divides:
- If it is slippage with fluorocarbon → go to Step 3.
- If it is a lifeless dry-fly drift → go to Step 4.
- If it is breakage on light tippet, or you need a maximum-strength knot for tiny flies → go to Step 5.
3. Tie the Double Davy for Fine Fluorocarbon
The Double Davy wraps line in two opposing directions, creating a locked coil that grips fluorocarbon tightly. It stays put on tippet down to 7X.
How to tie it:
- Pass the tag end through the hook eye from the front.
- Bring the tag back and form a simple overhand loop around the standing line.
- Insert the tag through the hook eye from the back, so the line exits the eye in the same direction it entered.
- Wet the knot, then pull the standing line and tag end slowly until the coils seat against the eye. The knot should show two parallel wraps snugged down.
If coils slide under moderate pull: Add an extra pass through the eye before pulling tight. With very thin fluorocarbon (7X–8X), this adds holding power without noticeable bulk.
4. Tie the Non-Slip Loop for Dry Flies and Emergers
This knot creates a small, adjustable loop that lets a dry fly pivot freely and track the current. Tying it takes no longer than an improved clinch once the motion is learned.
How to tie it:
- Thread tippet through the hook eye, leaving a 6–8 inch tag.
- Form a loop by bringing the tag around the standing line and hold the crossover point.
- Wrap the tag around the standing line 3 to 5 times. More wraps produce a tighter, smaller loop; fewer wraps create a larger loop.
- Bring the tag back through the initial loop at the crossover, from the same side it exited.
- Moisten and pull the standing line. The knot cinches down, leaving a loop. Adjust loop size by pulling the tag before the knot is fully tight.
Branching: For heavily hackled dries, use just 2–3 wraps to leave a large loop for maximum movement. For slim mayfly emergers, use 4–5 wraps to keep the loop minimal and reduce fouling on the hook point.
5. Tie the Orvis Knot for Maximum Strength-to-Size Ratio
The Orvis knot builds a compact, high-strength coil behind the hook eye. It does not kink the line during tightening, so it holds 6X or 7X tippet on a #20 midge without a sudden break.
How to tie it:
- Pass the tippet through the hook eye and double the line back parallel to the standing line, forming a large loop.
- Take the tag end and wrap it around the doubled line (standing line and tag leg) 3 turns.
- Insert the tag through the small loop that formed near the hook eye as the wraps began.
- Pass the tag through the large main loop.
- Moisten, then pull the standing line slowly. The knot slides down, seats behind the eye, and forms a small, dense barrel. The tag end points forward toward the fly.
If the knot does not seat neatly: Stop and retie. Make sure the tag is long enough to handle. For extra-small hooks, use a needle or fine hemostat tip through the eye to manage the line during threading; this prevents over-crimping light wire.
Field Checks: Confirming Your Knot Is Trout-Ready
Before your first cast, run these checks:
- Double Davy: The two wraps sit parallel, side by side against the hook eye, tag pointing forward. Pull firmly—there should be zero movement.
- Non‑Slip Loop: The loop stays open, not pinched onto the hook eye. The knot body is snug, the loop free to shift. Tug the tag; if loop size changes, you tightened too early.
- Orvis knot: The knot is a compact cylinder with no gaps between coils. The tag points back toward the fly. Pull the standing line and fly until you feel a solid stop—no deformation.
- General test: Hold the fly and pull the tippet. The line should stretch before the knot slips. Any movement—cut and retie.
Troubleshooting: When a New Knot Still Fails
The Double Davy Slips Under Load
Add another wrap. Fine fluorocarbon sometimes needs three passes instead of two. Always wet the knot thoroughly—fluorocarbon heats quickly under friction and weakens if pulled dry.
The Non‑Slip Loop Collapses
The standing line was pulled before the knot was set. Retie, snug the knot with the tag still loose, then gradually pull the standing line while holding the loop at the desired size. If it still collapses, reduce the number of wraps by one.
The Orvis Knot Breaks at the Hook Eye
The knot over-tightened against the hook. With light-wire hooks, stop pulling once the knot seats firmly—do not crush the wire. Also check that the tag exits smoothly; any kink concentrates stress.
Next Move: Fishing with Confidence
With the correct knot for the situation, the fish stays connected. Next, test these knots under actual fishing conditions—start with a dry fly and the Non‑Slip Loop to see the drift improve immediately.