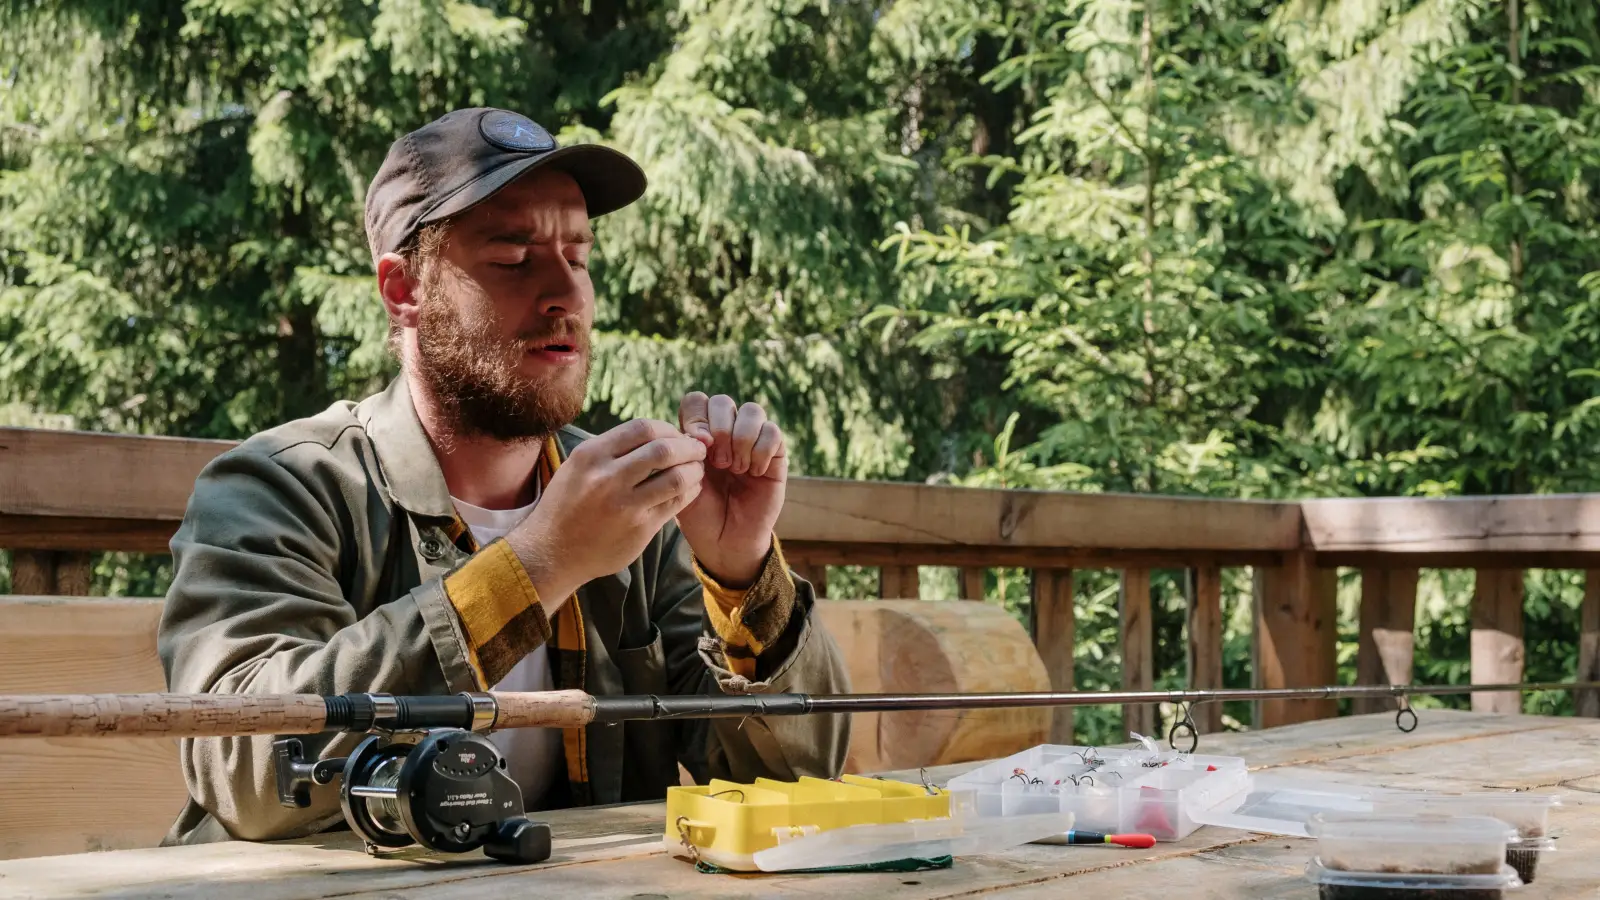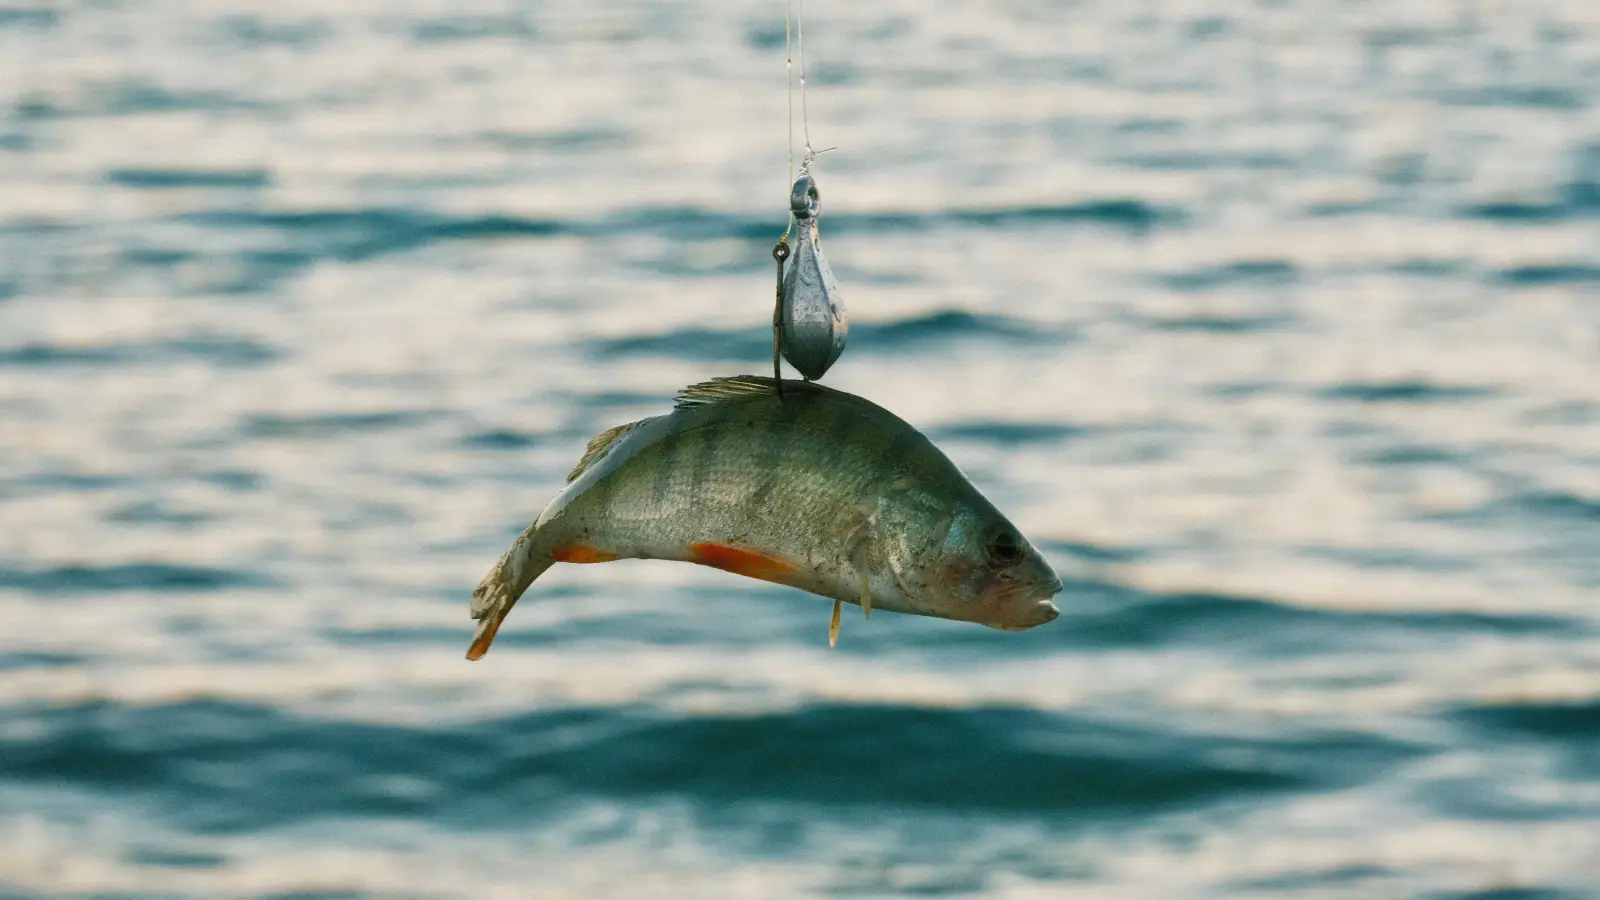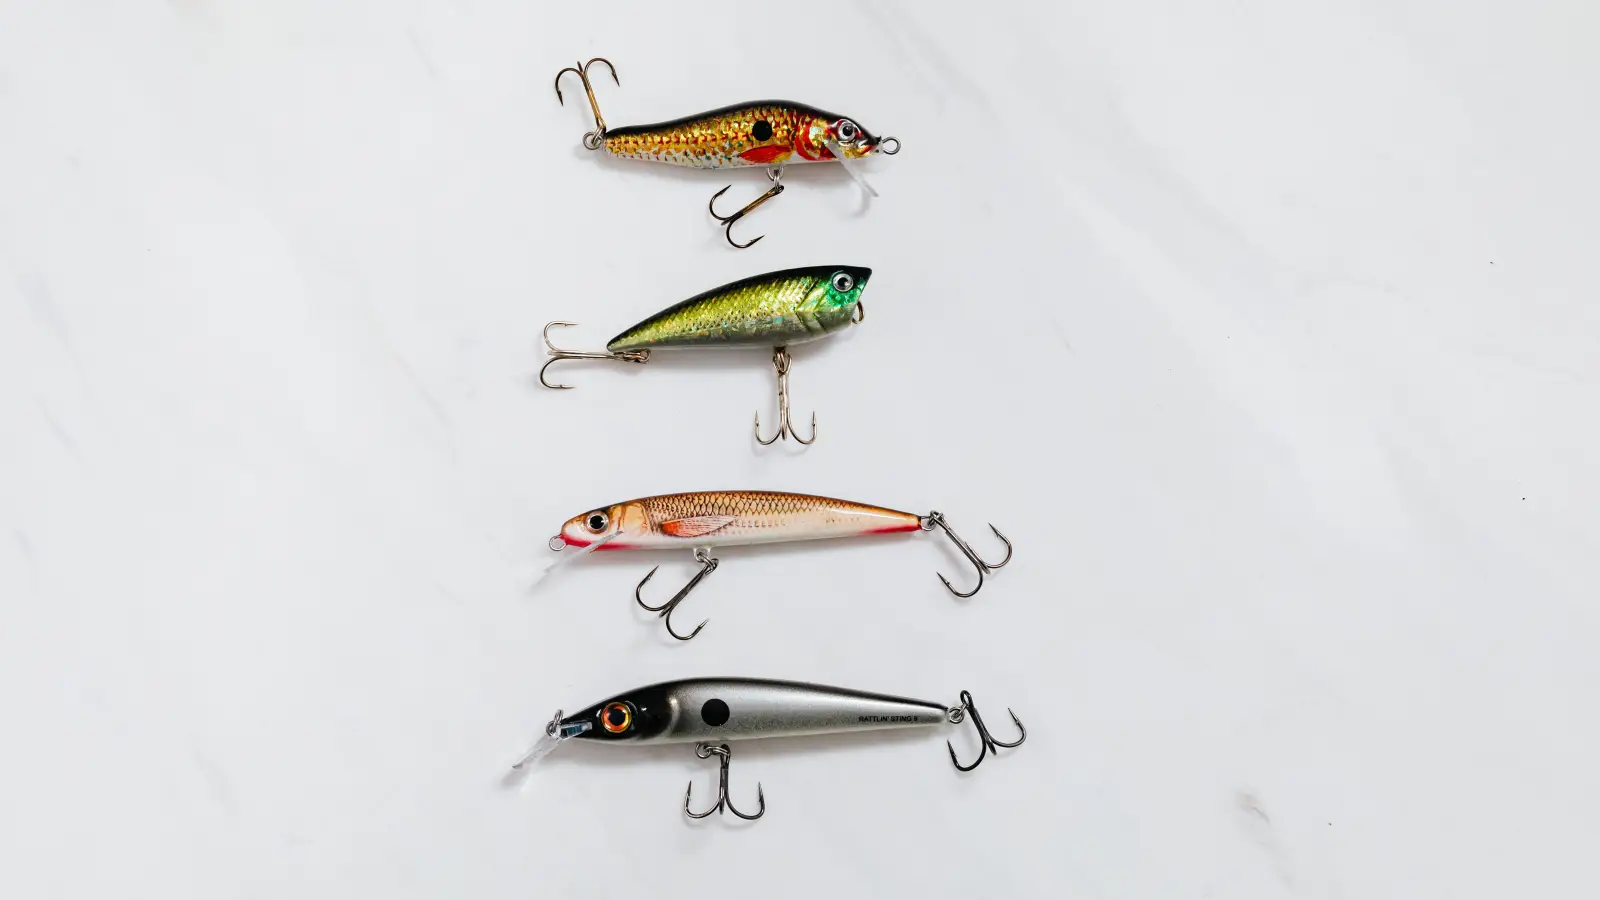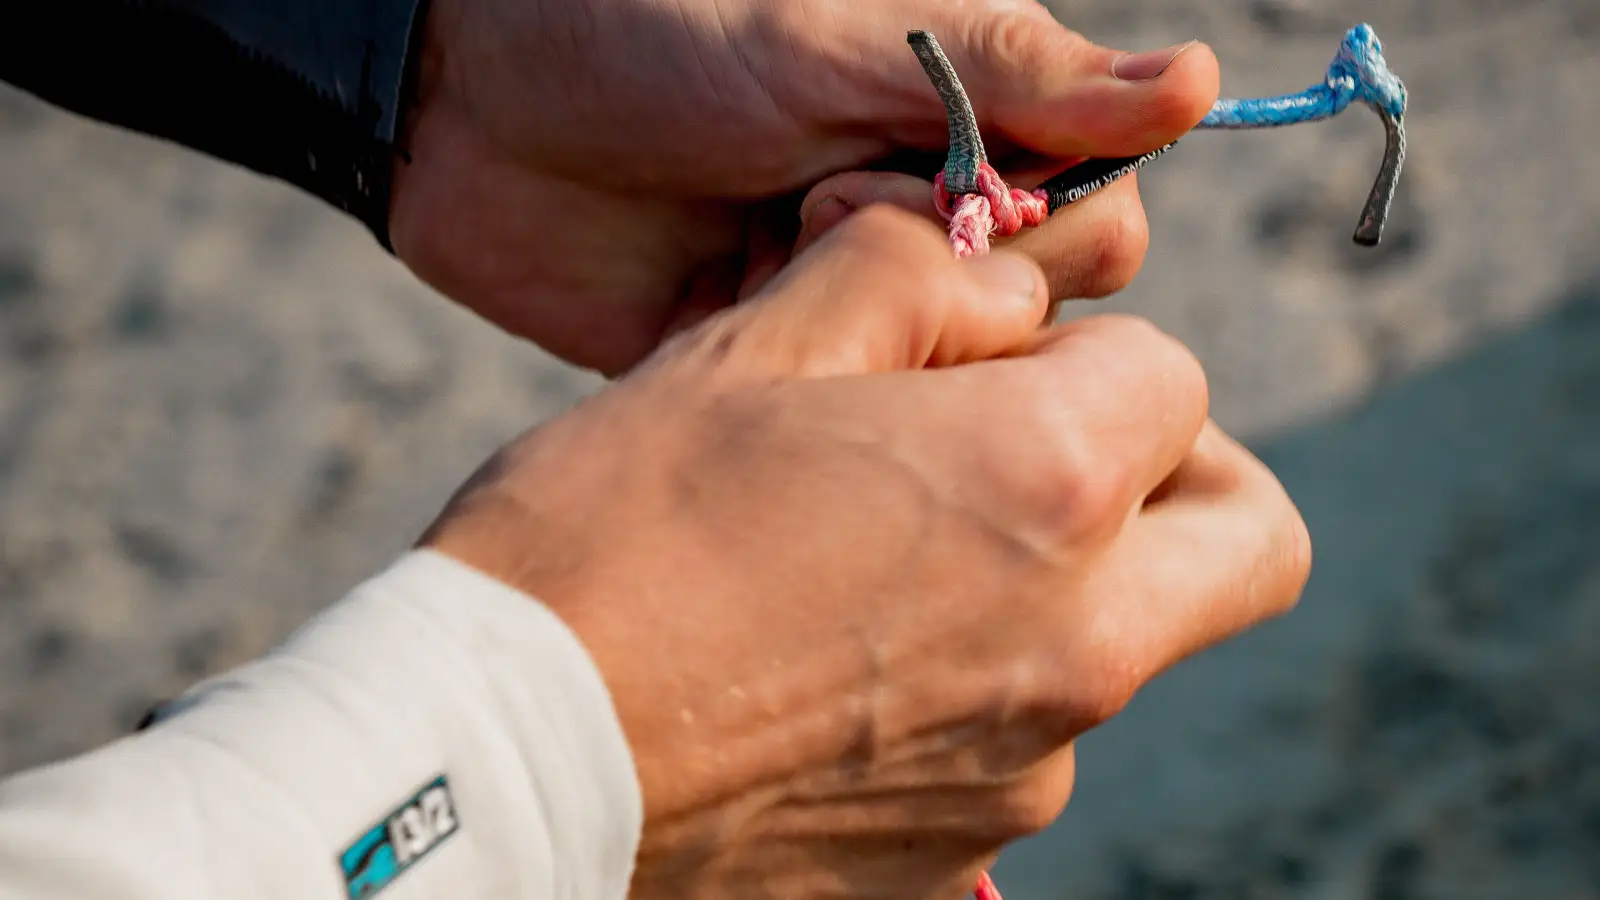
The rigging error that loses fish before the first cast isn’t about picking the wrong knot or weight in isolation. It’s about assembling those pieces without regard for how the whole presentation looks and acts in the water. When line, leader, weight, and knot are chosen as a single system—each decision driven by the target’s feeding zone and the water’s clarity—you stop trading bites for guesswork. The first cast becomes a correct answer, not a question.
Memorized recipes don’t account for the variables that actually matter. A guide that says “use a 20‑pound leader” skips the reasoning that makes that number valid only under certain visibility and depth conditions. The goal here is to replace recipes with a repeatable method: identify where the fish feeds and how clearly it sees, then make every rigging choice flow directly from those two facts. By the end, you will have a system that produces a natural, fish‑ready presentation before the bait gets wet.
Which Rig Builder Are You Right Now?
Pick the description that fits. The article works differently depending on your starting point; use the suggested route to reach the core material faster.
The Recipe Follower
You tie the same leader length, weight, and knot combination every time because someone else showed you that setup. It catches fish occasionally, but you can’t explain why it works or why it sometimes doesn’t.
Route: Begin with the first stage—mapping the feeding zone and clarity. That underlying logic will make the rest of the process coherent instead of another set of instructions.
The Over‑Thinker
You carry multiple lines, leaders, and weights, and you swap them frequently. Yet you lack a consistent rule for which combination to reach for first, so you waste time second‑guessing.
Route: Concentrate on the first and last stages. The mapping stage gives you an anchor decision, and the knot‑testing stage gives you a way to validate any setup before trusting it.
The Newcomer
The water, the species, or rigging itself is unfamiliar. You need a clear sequence that doesn’t bury you in options.
Route: Move through all four stages in order. Use the readiness checklist as a go/no‑go gate before you make a cast.
Before the Knot: Mapping the Fish’s Feeding Zone and Water Clarity
The first unknown to resolve is not what gear to use, but where the fish is looking for food and how well it can see. Both answers are observable on the water, not matters of opinion.
Fish feed vertically. Redfish and carp work the bottom. Trout and bass may hold at mid‑depth or ambush near cover. Bluefish and mackerel attack surface prey. A rig that presents a bait outside that natural zone—or descends through it with the wrong motion—already fails.
Clarity sets the visual rules. In clear water, a heavy splash or a thick, visible line can shut down a bite instantly. In stained or muddy water, fish depend more on vibration and scent, so overly cautious stealth provides little benefit.
Concrete Actions
- Gauge clarity by watching a lure sink: can you see it at 3 feet? At 6? Use that distance as a working number.
- Determine the depth you are fishing. A weighted line, a depth finder, or simply watching where bait settles works.
- Identify the species’ normal feeding zone and whether it is known to be line‑shy. A quick check against a reliable reference before you leave the house saves field time.
Observable Sign You’re Ready to Move On
Without touching a rod, you can state the feeding depth and the clarity distance for the spot you’re about to fish. If those numbers aren’t solid yet, the rest of the decisions rest on guesswork.
The Main Line: Strength, Stretch, and Stealth
The main line is the system’s backbone. Its job is to transmit information between you and the bait while staying as unnoticeable as the conditions allow.
Three properties govern the choice: strength (enough for the fish and any cover), stretch (a shock absorber or a tap transmitter, depending on need), and visibility (governed by the clarity you just measured). No single line type is universally correct; the correct one is the one that aligns with the feeding zone and clarity.
In stained water over a bottom feeder, braid makes sense. No stretch lets you feel the take; thin diameter cuts current. But braid is highly visible, so a leader becomes mandatory. In clear water with a skittish trout, straight fluorocarbon—nearly invisible and slightly sinking—fits a mid‑depth drift. Monofilament, buoyant and moderately visible, may be the right choice for a surface bait in turbid water where the fish locates by surface disturbance.
Concrete Actions
- Record the main line material you intend to use, tying it explicitly to clarity and depth. “It’s already on the reel” is not a reason—unless that line matches the condition.
- Select a pound‑test adequate for expected cover and fish size. Lean toward lighter line when visibility matters; lean heavier when abrasion is the bigger risk.
- Accept that line type is not permanent. Clear winter flats may require a different main line than murky summer backwaters on the same reel.
Observable Sign
You can name the main line material and pound‑test you chose, and the phrase you use to explain it references the feeding depth or clarity—not habit. If your answer starts with “usually I just…,” stop and return to the mapping stage.
Leaders and Weights: Tuning Depth and Stealth
The leader and weight complete the presentation path. The leader manages what the fish sees in its final approach; the weight controls how fast and how loudly the bait arrives.
Leader selection follows directly from water clarity and the species’ wariness. In clear water, a fluorocarbon leader of 15–20 lb test and 3–6 feet in length makes the connection nearly invisible. Shorter leaders in dirty water, or even no leader when the main line itself is low‑visibility, can work for aggressive feeders. Length matters beyond just invisibility: a longer leader disconnects the bait’s movement from the main line’s stiffness, creating a more natural drift.
Weight selection follows from the feeding zone and current speed. A bottom feeder in moderate current might call for a sliding egg sinker that holds position without kicking up clouds. A suspended fish might need only a single split shot placed well ahead of the bait, adding enough mass to sink slowly without free‑falling. A surface presentation skips weight entirely and lets the bait’s own action do the work.
Weight is a delivery tool with a noise profile. A 1/4‑oz sinker that smacks the surface in 2 feet of clear water creates an acoustic spike that a spooky fish registers before it ever sees the bait.
Concrete Actions
- Choose leader material, length, and pound‑test. Clear water = fluorocarbon. Stained water = mono or none, provided the main line blends.
- Choose weight type and amount based on required sink speed and whether the weight needs to slide freely or stay fixed.
- Test sink rate in visible water with a count (“one‑thousand‑one, one‑thousand‑two…”). Adjust until the bait reaches the feeding zone within a count that matches the fishing depth and the fish’s feeding style.
Observable Sign
You can select a leader and weight that you know—without casting—will place the bait at depth on a predictable count and without an obvious splash or flash. Until that mental picture is reliable, keep adjusting.
The Final Knot: Locking the System Without Killing Action
The knot is the literal junction where the system either holds or fails. It must be strong, compact, and suited to the line types it connects.
A slipping knot can sacrifice 30% or more of the line’s rated strength. A bulky knot passing through guides becomes a visual alarm in clear water. A poorly cinched knot can restrict the bait’s movement, turning a lifelike action into a stiff, unnatural twitch.
The right knot depends on the connection. A braid‑to‑leader joint calls for a slim, high‑strength knot—the FG or Alberto. Leader‑to‑hook may use an improved clinch or uni knot. The critical part is not which knot you pick, but that you can tie it reliably, under pressure, without a reference.
Concrete Actions
- Identify the two or three connection types in your system and assign a single knot to each. Practice that knot until it’s automatic.
- Always wet the knot before tightening. Pull hard to test; it should hold without slipping or deforming.
- Trim tag ends flush. A protruding tag adds drag and a visual hint.
Observable Sign
Every connection knot can be tied without instructions, and each survives a firm pull test without any sign of failure. Run a thumbnail over the knot—it should feel smooth, not snag.
When Your Rig Is Ready: The Four Checkpoints
Verify each item before the first cast:
- You know the feeding zone depth and water clarity for the spot.
- Your main line choice has a stated reason connected to those two measurements.
- The leader and weight deliver the bait to depth with a consistent sink count and no excessive water disturbance.
- All connection knots are secure, compact, and tied without hesitation.
If any checkpoint fails, stop and correct it. The system is only as strong as its weakest link—literally.
What You Can Ignore While Learning This System
Early on, fine‑tuning details will distract more than they help. Postpone the following until the baseline system works.
Exact line color matching
The difference between a clear and a green fluorocarbon line rarely matters enough to fix a broken system. First master material choice (fluoro vs. mono vs. braid), then—only if fish consistently refuse in ultra‑clear, high‑pressure water—experiment with tint. Trigger: Clear‑water refusals with a correctly set up system.
Using the absolute smallest hook possible
Small hooks are a finesse tool, not a rule. In stained water, a slightly larger hook improves hook‑up ratio without deterring the fish. Start with a hook size appropriate for the bait and species, and downsize only when you are missing short strikes. Trigger: Repeated missed hits or stolen bait.
Fluorocarbon’s sinking vs. floating properties
Debates about buoyancy can wait. For a beginner, the key property is near‑invisibility. Once you can reliably present baits at depth, then address whether the leader’s sink rate is altering the action. Trigger: Topwater baits riding nose‑down or bottom baits drifting oddly.
Weight increments smaller than 1/8 oz
1/16‑oz or 1/32‑oz adjustments fine‑tune sink speed, but until you can predict what a 1/4‑oz change does, stick to 1/8‑oz steps. Get the large adjustments right first. Trigger: You can consistently place the bait in the zone and now want to slow the fall for timid biters.
Legitimate Ways to Speed Up the Learning Curve
Once you grasp the method, these shortcuts let you apply it faster without breaking the logic.
Build a conditions card
For the waters you fish most, document the typical clarity, depth, and target species, then record the main line, leader, weight, and knot that worked under those conditions. The next time you face similar variables, start from that validated setup instead of from scratch.
Pre‑tie spare leaders
When you confirm a successful configuration—say, a clear‑water redfish bottom rig—tie several identical leaders and store them on a spool. That is not a recipe; it is an efficient repetition of a system you already proved.
Sink‑rate testing in a bucket or pool
Before a trip, drop the rig into clear standing water and watch. Count the sink time. Check the bait action. A few minutes of observation prevent wasted casts and give you an accurate sink count.
FAQ
Do I always need a leader?
No. In dirty water with a low‑visibility main line (such as dark green mono) and aggressive fish like catfish or pike, tying direct works. A leader becomes essential when the fish is line‑shy or the main line is highly visible, such as braid in clear water.
How long should my fluorocarbon leader be for clear water?
Start with 3–6 feet. Shorter lengths may leave main line visible too close to the bait; longer lengths can become awkward for casting. Increase length as clarity increases.
Can I use braided line without a leader in stained water?
Yes, especially with reaction baits like spinnerbaits or topwaters. Stained water reduces the visual disadvantage of braid. But if fish show hesitation, add a short fluorocarbon leader as a precaution.
What is the simplest knot system for a beginner rigging from scratch?
Alberto knot for main‑to‑leader connections. Improved clinch knot for leader‑to‑hook. These two cover the majority of basic rigging tasks and are straightforward to learn and tie under field conditions.
The Finished Rig and the First Cast
When every component was chosen because of what the fish’s environment demands, the first cast stops being a test. It enters the water at a controlled pace, reaches the feeding depth, and moves naturally without visual or audible alarms. The fish sees food—nothing else.
For the Recipe Follower, the simplest first action is this: on the next trip, leave the pre‑tied rig in the box. At the water’s edge, answer two questions—what is the feeding depth, and what is the visibility distance? Only then open the tackle bag and build one rig from scratch following the stages above. After a few outings, that deliberate process becomes faster than reaching for a recipe, and far more consistent.