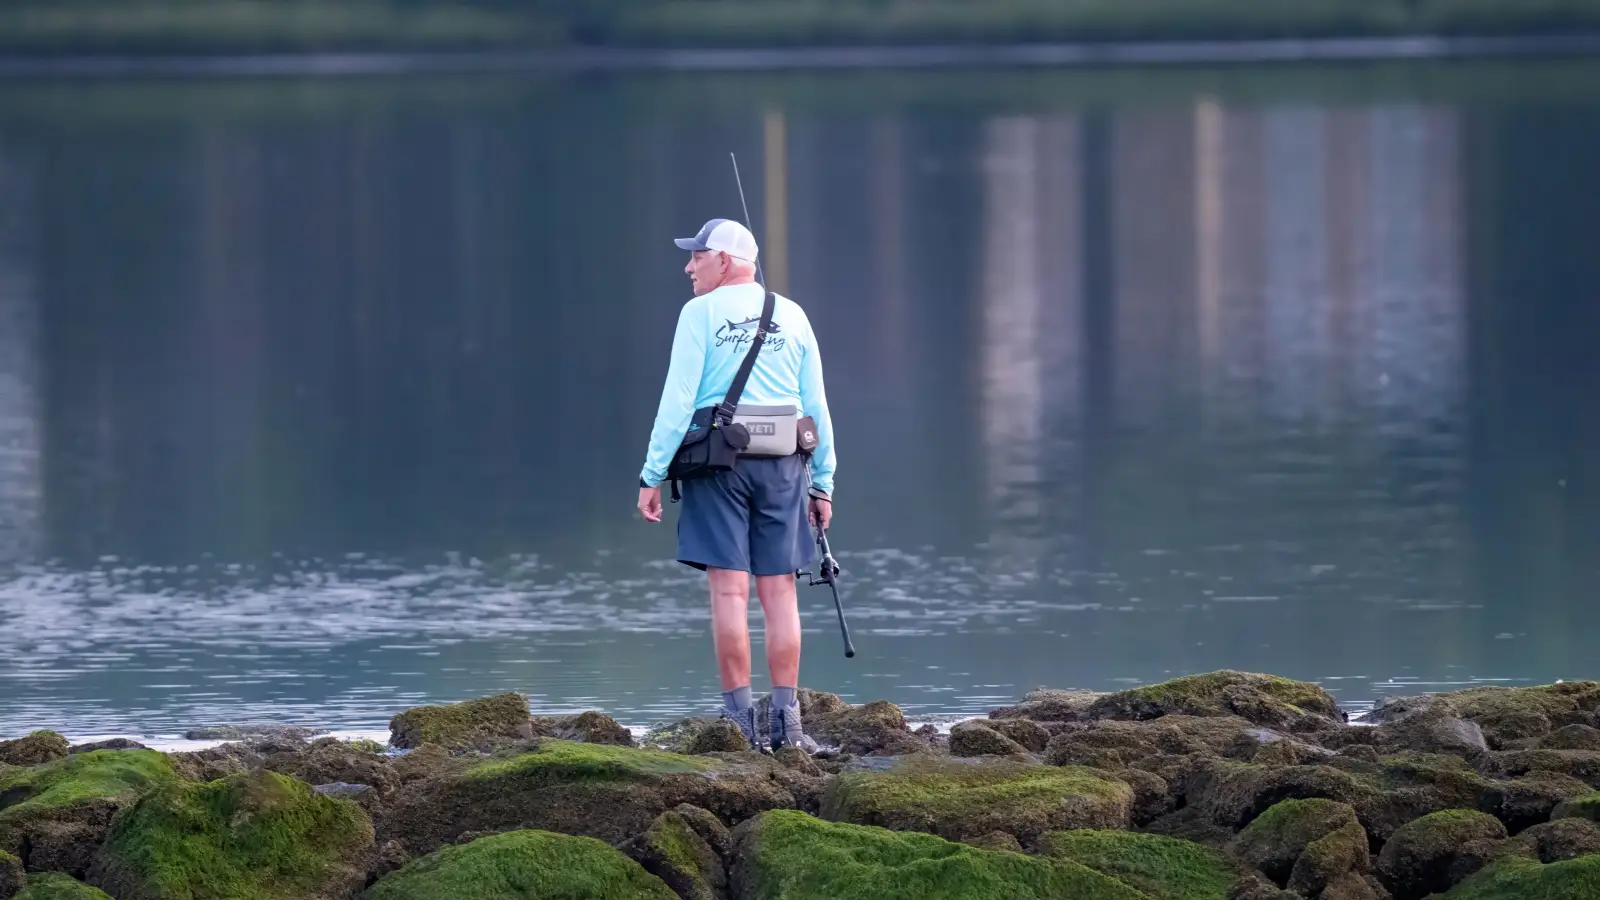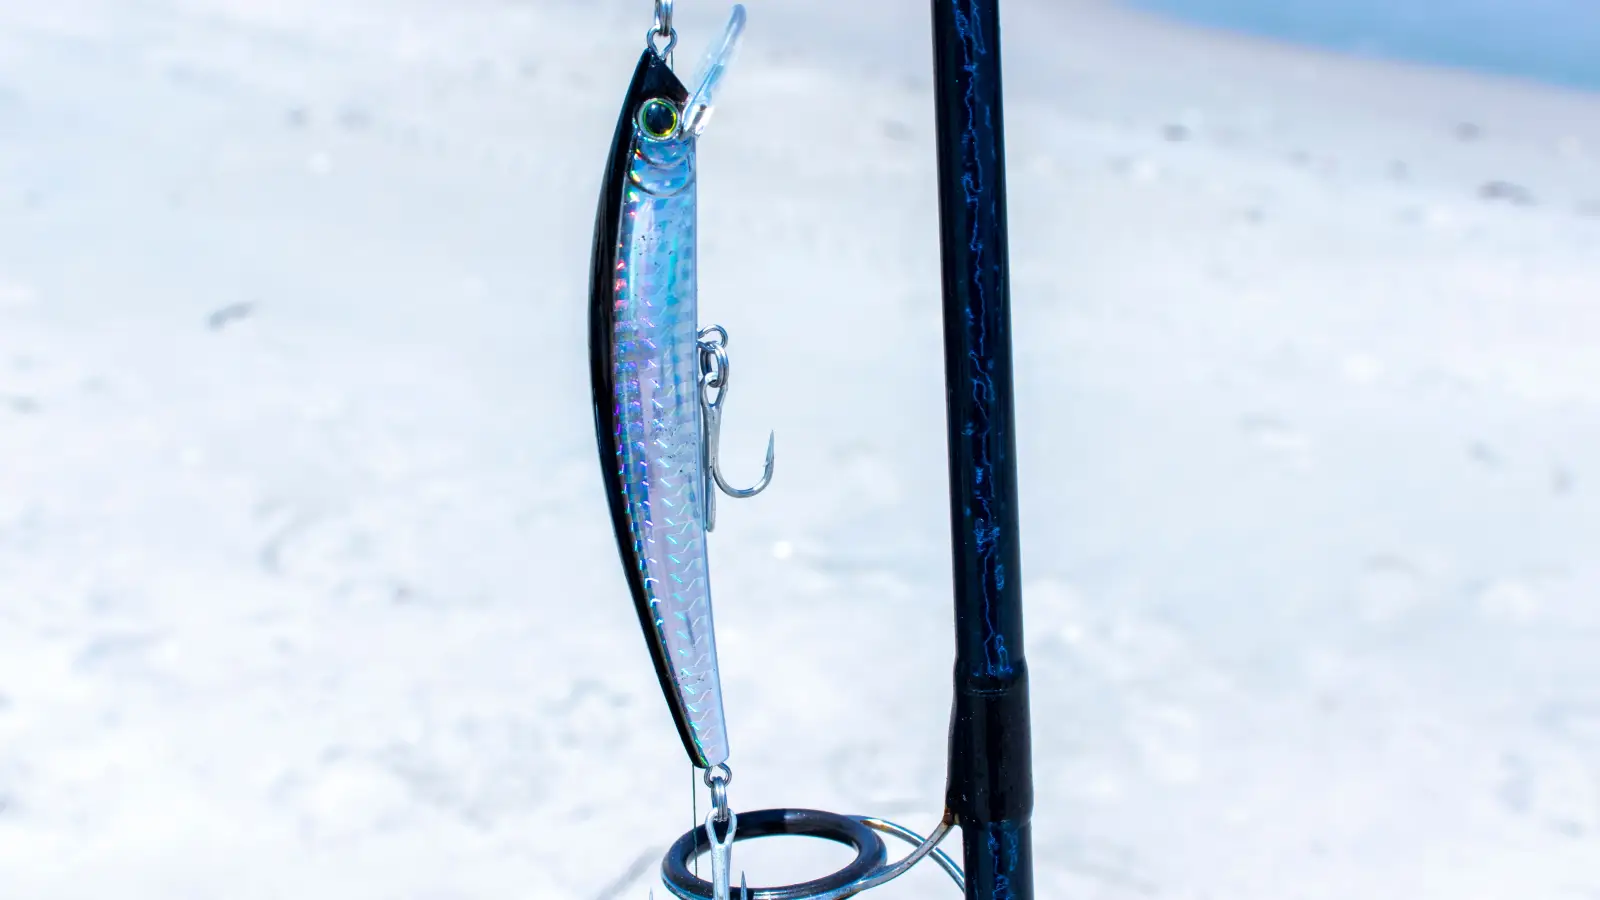
Most shore lures fail because anglers ignore the interaction between water clarity, depth, and shoreline structure — the three variables that determine what a fish can actually detect and will commit to attacking. A decision tree that routes through those variables consistently points toward small-profile baits, which outperform large ones far more often than conventional wisdom suggests, especially when fish are pressured from shore.
The instinct to throw a big, attention-grabbing lure from the bank backfires precisely because shore fish — particularly those in accessible spots — encounter lures constantly and learn to associate oversized, noisy intrusions with negative outcomes. A 2.5-inch bait that drifts down on a slack line triggers a different decision calculus entirely: it looks like a routine food item that does not require inspection. This article builds that decision tree step by step, examining at each branch why smaller and quieter lures regularly beat the alternatives in the conditions most shore anglers face.
Where You’re Fishing Determines Your Starting Point
Every shore location falls into a limited set of categories, and each sends the angler down a different branch of the decision tree. Identify the one that most closely matches the water in front of you, and the rest of the article applies directly.
You’re wading a muddy flat or a tannic river bank. Visibility is under 12 inches, depth rarely exceeds 3 feet, and the bottom is soft. The route through this article shows how high-contrast, vibration-heavy lures with compact profiles cut through murk and trigger strikes from fish that hunt by lateral line, not by sight.
You’re fishing a clear-water lake, quarry, or reservoir with visible structure. The water is nearly transparent; rocks, drop-offs, and weed edges are obvious. Depth varies from a few feet to over 10. The route reveals why natural, translucent colors and faint, subtle actions produce more strikes than power-fishing, and why stepping down to a finesse bait frequently unlocks a refusal.
You’re casting off a deep-water pier, jetty, or steep shoreline. Depth falls away quickly to 15 feet or more. Fish hold down in the water column or tight to structure. The route concentrates on lures that reach the strike zone rapidly without excessive commotion and then stay there — and why slender, heavy, small-bodied profiles get inhaled when bulky plugs get followed but not eaten.
You’re on heavily pressured urban water with mixed clarity. These spots see constant lure traffic; the fish are educated. The route here leans hardest into the counterintuitive core of this article: the smallest, most unobtrusive offerings — finesse worms, micro jigs, tiny crankbaits — outproduce everything else simply because they fail to set off alarm systems.
Stage One: Diagnose Visibility, Depth, and Bottom Features
What This Stage Achieves
Before choosing a lure, the angler needs to quantify what the fish can see, how deep they are holding, and what the bottom architecture looks like. Water clarity sets the contrast requirements. Depth governs sink rate and retrieve plane. Shoreline structure determines whether fish are ambush predators holding against cover or cruisers roaming open flats. Getting these three variables right collapses the lure selection from hundreds of possibilities to a single family.
Concrete Actions
Measure water clarity with a practical test: lower a white lure or a piece of white plastic bag to a known depth and note the point where it disappears. If it vanishes at 18 inches, the water is moderately clear. Disappearance below 12 inches means muddy. Visibility beyond 3 feet qualifies as clear.
Estimate depth near shore with a quick cast-and-count using a 1/4-ounce weight on a bare hook dropped straight down. For structure, polarized glasses make bottom features visible: points, depth transitions, weedlines, and color changes. Rocky boulder edges concentrate fish differently than featureless sand flats, and the lure choice will reflect that.
The Sign You’re Ready to Move On
You can describe the spot in one sentence — “Moderately stained, 4 feet deep with scattered rock 10 feet out, then mud flat” — without pausing to guess.
Stage Two: Connect Visibility and Pressure to Fish Behavior
What This Stage Achieves
Water clarity and depth alone do not dictate the outcome. The same 4-foot-deep clear cove in a remote lake fishes nothing like a 4-foot-deep clear pond in a city park. This stage inserts the pressure variable and shows why small-profile baits become the logical choice when fish have been conditioned to avoid standard offerings.
Concrete Actions
Evaluate bank access. Easy parking and a short walk almost always mean heavy pressure. Spots that required hiking or wading through brush tend to see fewer lures. Also check for signs: discarded line, packed-down shore paths, bait containers. High pressure correlates with fish that have repeatedly experienced large, splashing, rattling objects that end badly.
Combine that with visibility. In low-clarity water, pressure effects are dampened because fish rely on vibration and can’t scrutinize details. But in clear water with heavy pressure, every visual discrepancy matters — and a large profile triggers caution. A 4-inch swimbait may draw follows without strikes, while a 2.8-inch Ned-rigged stick bait on a light jighead elicits strikes on the fall, without hesitation.
The Sign You’re Ready to Move On
You’ve assigned a pressure level — minimal, moderate, or heavy — and can predict that a high-pressure clear-water spot demands the smallest, most natural bait available, while a low-pressure muddy spot still tolerates a more aggressive presentation.
Stage Three: Choose the Lure Family That Matches the Conditions
What This Stage Achieves
The three inputs — clarity, depth/structure, pressure — now map to actual lure categories. This is the decision tree’s core: picking the family of baits that give the highest probability before considering color or retrieve.
Concrete Actions
For muddy, shallow water under 3 feet, regardless of pressure, compact vibration baits dominate: a small Colorado-blade spinnerbait, a short-lipped crankbait with a tight wiggle, or a 2.5-inch bladed jig. They displace water and project a dark silhouette. The small profile prevents spooking fish that cannot see well enough to commit to a large, ambiguous shape.
For clear, shallow-to-mid-depth water with structure, the decision splits on pressure. Low pressure: a small jerkbait or a 3-inch paddle-tail swimbait on a jighead. But if pressure is moderate to heavy, drop to finesse — a Ned rig, a drop-shot with a tiny worm, or a hair jig under 1/16 ounce. These baits do nothing dramatic; they function as a food item that does not require a risk assessment.
For deep shore access like piers and steep banks, the problem is getting down. A slender, heavy metal — a blade bait or a small jigging spoon — sinks fast and stays compact. When current or depth forces a more horizontal fall, a small tube jig on a heavy head or a 3-inch fluke-style soft jerkbait on a weighted hook covers water and triggers reaction strikes without the bulk that looks wrong in open, clear water.
The Sign You’re Ready to Move On
You’ve selected a specific lure type — not just “something small,” but “a 1/16-ounce mushroom-head jig with a 2.75-inch TRD-style bait” — and can justify why it fits the conditions. Ambiguity at this point means the diagnosis is incomplete.
Stage Four: Fine-Tune Retrieval to Close the Deal
What This Stage Achieves
The right lure in the right place still fails if the retrieve pace and cadence fight what the fish expect. This stage aligns the bait’s behavior with the fish’s activity level and ensures that the small-profile advantage isn’t sabotaged by excessive movement.
Concrete Actions
In low-visibility, warm-water conditions, a steady straight retrieve with a tight wiggle gives fish a trackable target. In clear, cold, or pressured water, the same small bait becomes vastly more effective when worked with long pauses, dead-stick intervals, or minimal twitches. Control is the principle: a 2.5-inch finesse worm sitting motionless on the bottom for 15 seconds often gets eaten right as the rod tip barely moves.
When fishing a drop-off, let the bait fall on a slack line and watch the line for ticks. The strike usually arrives during the descent, when the bait presents the least threatening profile — a situation where a small, slow-sinking lure is in its ideal element.
The Sign You’re Ready to Move On
You can deliberately adjust retrieve speed, pause duration, and twitch intensity based on feedback from the last five casts. You’re no longer simply reeling; you’re systematically probing until the effective cadence locks in.
Your Decision Tree Checkpoints: 4 Signs the Diagnosis Is Correct
- You can describe your shore spot’s clarity, depth, and bottom structure in a single, specific sentence.
- You’ve classified fishing pressure at the spot as minimal, moderate, or heavy.
- You’ve selected a lure category that matches those inputs — and when pressure was high and clarity good, you defaulted to a small-profile finesse bait.
- You’re varying retrieve cadence intentionally, using pauses and subtle movements instead of a straight wind.
Concerns That Can Wait: Color Obsession, Line Type, and Rod Power
Getting exact lure color right. In low clarity, silhouette contrast exceeds hue in importance. A dark profile outperforms a specific shade of green pumpkin. In high clarity with heavy pressure, natural translucent colors help — but only after the profile has been reduced. A bulky bait in the perfect color remains a bulky bait. Trigger: address color when you’re already on the correct lure size and category and still seeing refusals in clear water.
Line visibility and fluorocarbon vs. mono. Heavily pressured clear-water fish can detect thick line, but switching from 8-pound to 6-pound rarely converts bites if the lure profile is still excessive. Fix the bait size first, then fine-tune line once fish are following the downsized bait but turning away at the last moment. Trigger: downsized bait has followers that reject at close range.
Rod power and action. A highly sensitive rod is useful, but a medium-action stick with a limber tip catches plenty of fish on a Ned rig when the lure selection is already correct. Chasing gear before routing through the decision tree is expensive and misdirected. Trigger: optimize the rod when deep into finesse presentations and needing to detect subtle bites on slack line.
Tools That Speed Up Learning
Polarized sunglasses. Seeing the bottom removes guesswork. Weed edges, depth transitions, and fish positions become visible before the first cast. This is not a comfort addition — it’s the fastest way to train the eye to read structure.
A simple fishing log. Record date, water clarity estimate, depth fished, lure type and size, and whether fish were caught. Patterns emerge after a dozen trips that would take a full season to notice otherwise. The small-profile lesson becomes obvious when it shows up repeatedly in the data.
What Anglers Ask After Lures Keep Getting Ignored
Why do I catch nothing with a swimbait from shore but see fish?
Shore fish subjected to pressure often key on tiny forage: insects, small crayfish, minnows under two inches. A standard 4-inch swimbait appears too large and unnatural. Switching to a 2.5-inch finesse bait frequently produces immediate strikes.
Is a smaller lure always better from shore?
No. In very muddy, shallow water with no pressure, a compact but vibration-heavy bait still works. The rule is: when visibility is high and pressure is higher, profile size dominates. In dirty water, vibration can compensate for some amount of bulk.
How do I know if fish are pressured if I don’t see other anglers?
Indicators include fish bolting as you approach, follows without strikes, and easily accessible urban water. Worn shore paths and discarded line are reliable pressure signals, even if no one is currently fishing.
What’s the best all-purpose small bait for shore fishing?
A Ned rig with a 2.75-inch stick bait on a 1/16-ounce jighead covers more situations than any other single option. It functions in clear and stained water, shallow and deep edges, and on both active and neutral fish.
Putting the Decision Tree to Work on Your Next Trip
Having reached the end goal means scanning a new shoreline and immediately assessing visibility, depth, structure, and pressure — then selecting the lure that fits those variables, not the one that worked the last trip somewhere else. For the most common starting point — the moderately clear, pressured pond or lake — the immediate action is to tie on a 2.75-inch Ned bait in a subtle color, cast to visible structure edges, and let it fall all the way to the bottom on a slack line before introducing any movement. The bite will confirm the diagnosis.