You came here because old habits leave you with mushy fillets and release fish that don't survive. Marine biologists don't rely on tradition; they follow a sequence built on muscle physiology and stress reduction. Apply that same logic and you get firmer meat and fish that swim off strong.
Seven Steps to a Better Fillet and a Live Release
- Keep the fish wet. Use wet hands or a dehooking tool and limit time out of water.
- Decide right away: release or keep. To release, cradle the fish in the water facing current until it kicks away.
- If keeping, dispatch instantly. Drive a sharp spike into the brain (iki jime). No hesitation.
- Cut the gills and bleed the fish in a saltwater ice slurry until the water runs clear.
- Move the fish to a 32–34°F chiller and wait until rigor mortis passes—roughly 1–4 hours.
- Fillet along muscle seams with a flexible knife. Work from backbone to tail without sawing.
- Pull the bloodline and extract pin bones with needle-nose pliers.
Gear That Gets the Job Done
- Dehooking tool or long-nose pliers — removes the hook without scrubbing off the slime coat.
- Sharp brain spike or ice pick — dispatches instantly; a blunt tool wastes the chance for a clean kill.
- Flexible fillet knife (7–9 inches) — follows bone contours, cuts down on torn meat.
- Insulated cooler with crushed ice and saltwater — the slurry for bleeding. Saltwater matches the fish's internal balance.
- Dry chilling setup — a perforated tray or dry bag on ice for the holding phase.
- Needle-nose pliers — pulls pin bones in one motion.
Step-by-Step: How Science Shapes a Clean Fillet
Hook Removal Without Damage
Remove the hook with the fish still in the water or net. If you have to lift it, wet your hands first. A dry grip strips the slime layer and opens the door to infection. Use a dehooking tool for any hook set deep. Support large fish horizontally—lifting by the jaw alone can dislocate vertebrae.
When the fish is bleeding heavily from the gills or the hook is in the gut, a release won't stick. The physical damage means delayed death. In that case, retain the fish. Wasting it on a hopeless release makes no sense.
Releasing Correctly
Keep the fish in the water. Cradle it with the head facing into current, whether from the boat's slow forward motion or the natural drift. An exhausted fish needs moving water over its gills. If it lists to one side, rock it gently side to side to push oxygen-rich water through.
Wait for a solid kick and for the fish to right itself. Release only when it can stay upright and swim off. If after a full minute of reviving it still can't orient, bring it aboard—that fish is not going to make it, and a floater is a wasted fish.
Kill Quickly with Iki Jime
For a fish you keep, dispatch is non-negotiable. It ends stress and stops the hormone cascade that floods the muscle with lactate and breaks down texture. Find the brain just behind the eye, level with the upper mouth. Insert a sharp spike at a roughly 30-degree angle into the skull and twist. The fish goes limp immediately.
On larger fish, follow the first spike with a second into the spinal cord behind the head. This shuts down residual nerve firing and prevents involuntary muscle contractions that can bruise the flesh.
Bleed and Chill at the Same Time
Cut the gills right after dispatch. Submerge the fish in a 1:1 mix of crushed ice and saltwater. The cold tightens the blood vessels, forcing blood out; the salt concentration stops fresh water from pulling into the muscle cells and damaging them. Bleed for 2–5 minutes, or until the water runs clear. Skip this step and you lock blood into the meat—no amount of cooking fixes that off-taste.
Hold Cold Until Rigor Passes
Move the fish to a dry chilling setup after bleeding. Keep the temperature between 32–34°F. Rigor mortis sets in and the muscles lock up; filleting during this window shears fibers and leaves the meat tough and gaped. Wait until the body goes limp again—usually 1–4 hours depending on size and temperature—then fillet.
If a wait isn't possible, fillet right after bleeding while the fish is still very cold but before rigor begins. The texture will be a bit firmer, but it's far better than cutting through stiff muscle. Never fillet during peak stiffness.
Fillet Along the Muscle Planes
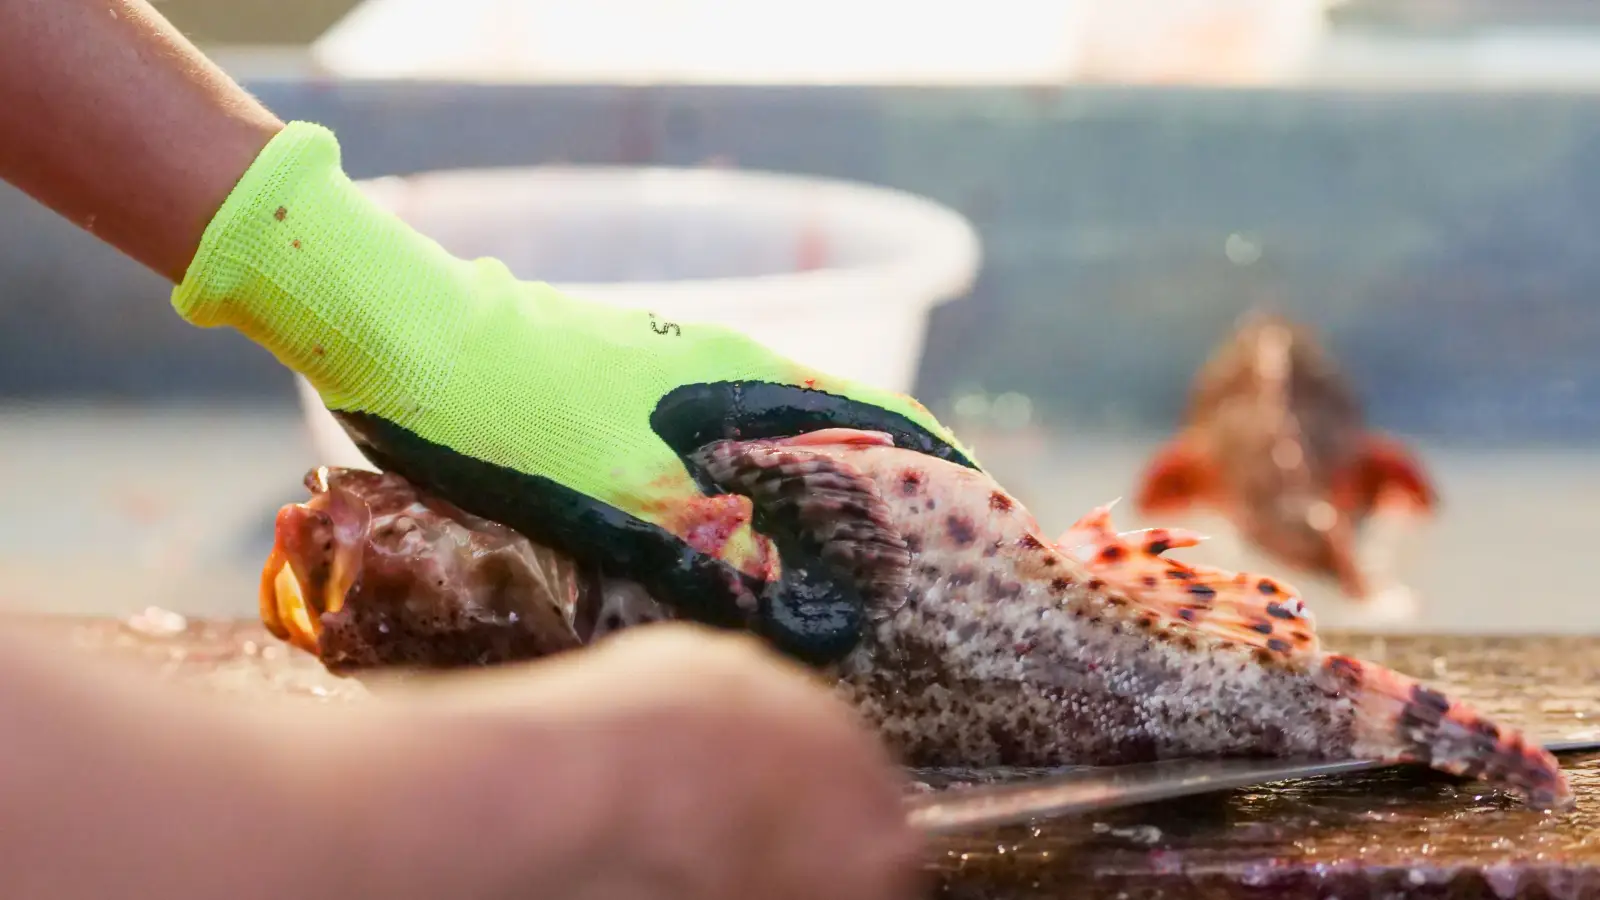
Start behind the pectoral fin. Cut down to the backbone, then run the blade along the spine to the tail with long, even strokes. No sawing. A flexible knife follows the rib cage automatically. Lift the fillet and separate it from the ribs using short strokes held close to the bone.
Flip the fish and repeat. For larger species, cut each fillet into portions along the lateral line seam. Going cross-grain through muscle fibers makes the meat shred when it hits heat.
Clean Up the Bloodline and Pin Bones
Look for the dark strip along the lateral line side of the fillet. That bloodline contains a lot of myoglobin and is responsible for the strong taste. Make a shallow V-cut and peel it away. Some keep it; that's a choice, but know what it does to flavor.
Run your finger down the center of the fillet to find pin bones. Grip each one with pliers and pull it straight out in the direction it points. Trying to cut them out often snaps the bone and leaves a fragment behind.
What Success Looks Like at Each Stage
- Release: The fish darts off upright, stays down, never surfaces again.
- Dispatch: Movement stops completely. Gills don't flare. Eyes are fixed.
- Bleeding: The water drains clear. Fillet sections are pale, not red-streaked.
- Chilling: Flesh is firm and slightly translucent. No separation between muscle flakes.
- Filleting: The surface is smooth and intact. No pin bones remain. The bloodline is gone or left neatly trimmed.
When Things Go Wrong
Fish Won't Revive
You've moved it through water for a minute and it's still listing or sinking. Hold it upright, keep water flowing over the gills, and if it still doesn't recover, keep it. A floater won't survive. Better to take responsibility for it than let it waste.
Mushy or Gapping Fillets
Heat and cutting during rigor cause this. You can't reverse it. Next time, get the fish into an ice slurry faster and hold it cold until rigor is completely gone. If you're pressed for time, at least wait 30 minutes on ice and bleed thoroughly.
Fillets Tear While You Cut
A dull knife is the usual suspect. Sharpen it before you start. Also check your angle—if the blade catches on the backbone, lift it slightly and follow the natural seam. Forcing through is what tears the meat.
Pin Bones That Won't Come Out
After you've filleted, run your fingers over the center line in good light. The small bumps are bones. Use pliers to pull them in the direction they point. If they break, work the fragment out with the plier tips—don't leave it.
Quick Answers to Common Handling Questions
Does bleeding really change the taste?
Yes. Blood breaks down into strong, muddy notes. Combine bleeding with cold holding and you get a clean, mild fillet every time.
Can this method work on freshwater fish?
Yes. The same principles apply. Use a freshwater ice slurry and expect a slightly milder bloodline. The core process still improves texture and survival.
What if I don't have a brain spike?
A sharp ice pick, a sturdy screwdriver, or a fillet knife tip can all work. You need a point that can reach the brain at the right angle. A blunt tool won't kill quickly, and that defeats the whole point.
How long can I keep the fish on ice before filleting?
For the best texture, fillet within a few hours. It stays safe for a day or two at 32–34°F, but the flesh starts to soften. Process it as soon as you can.
Ready for the Pan
You now have a system that produces a live release and a fillet that holds together when it cooks—firm, clean, and free of off-tastes. From here, pick a recipe that fits the species. For most white-fleshed saltwater fish, a hot pan, butter, and lemon does the work justice.