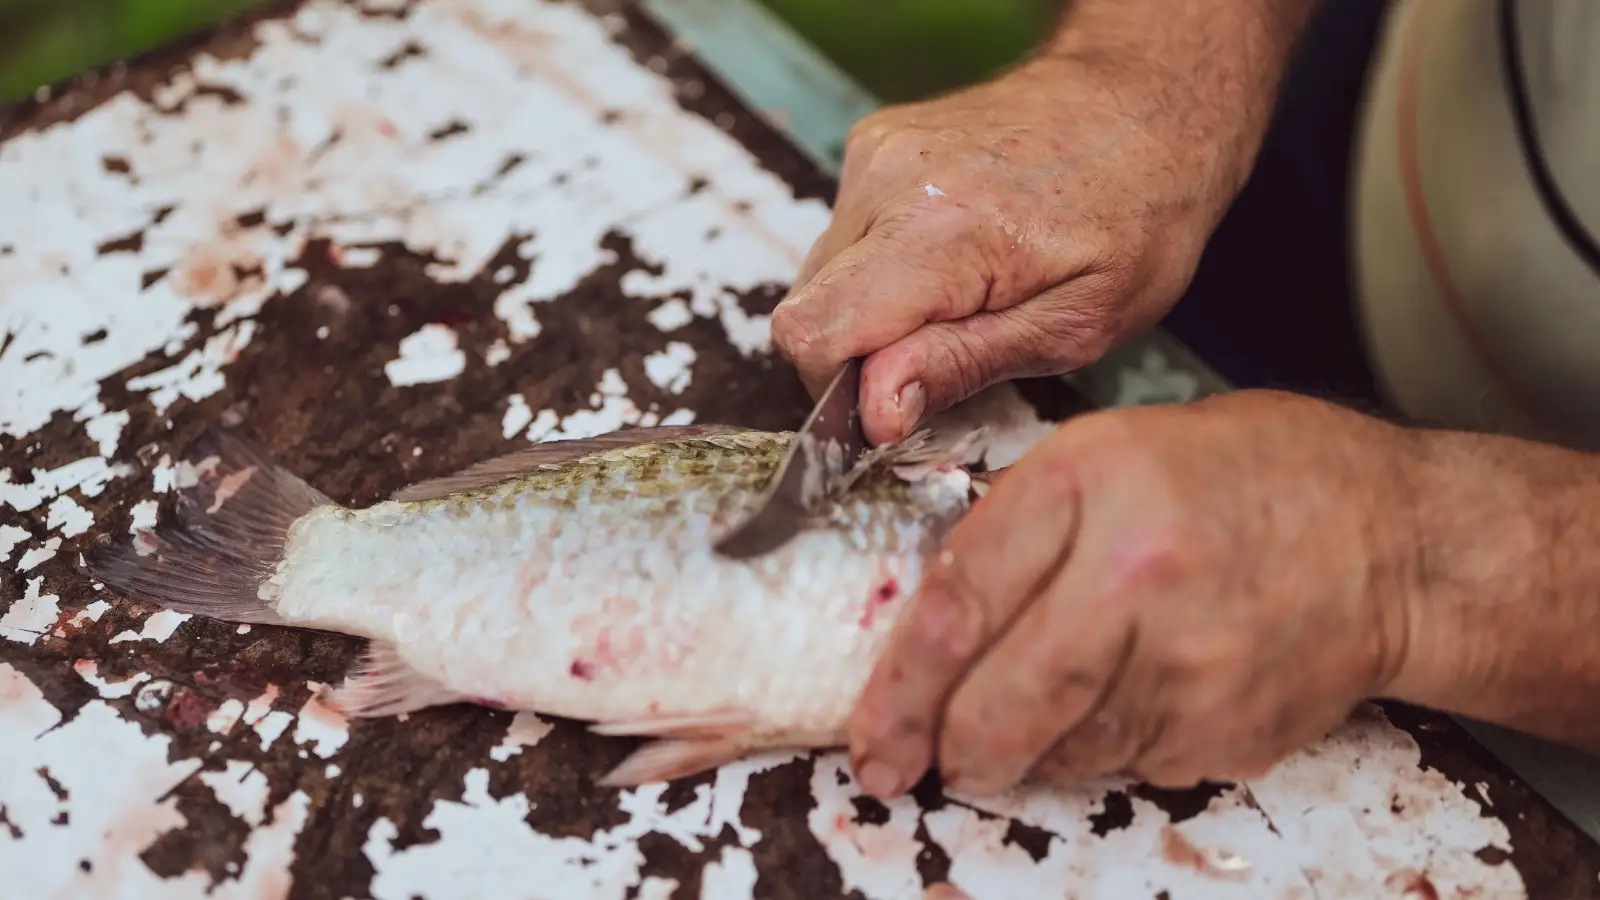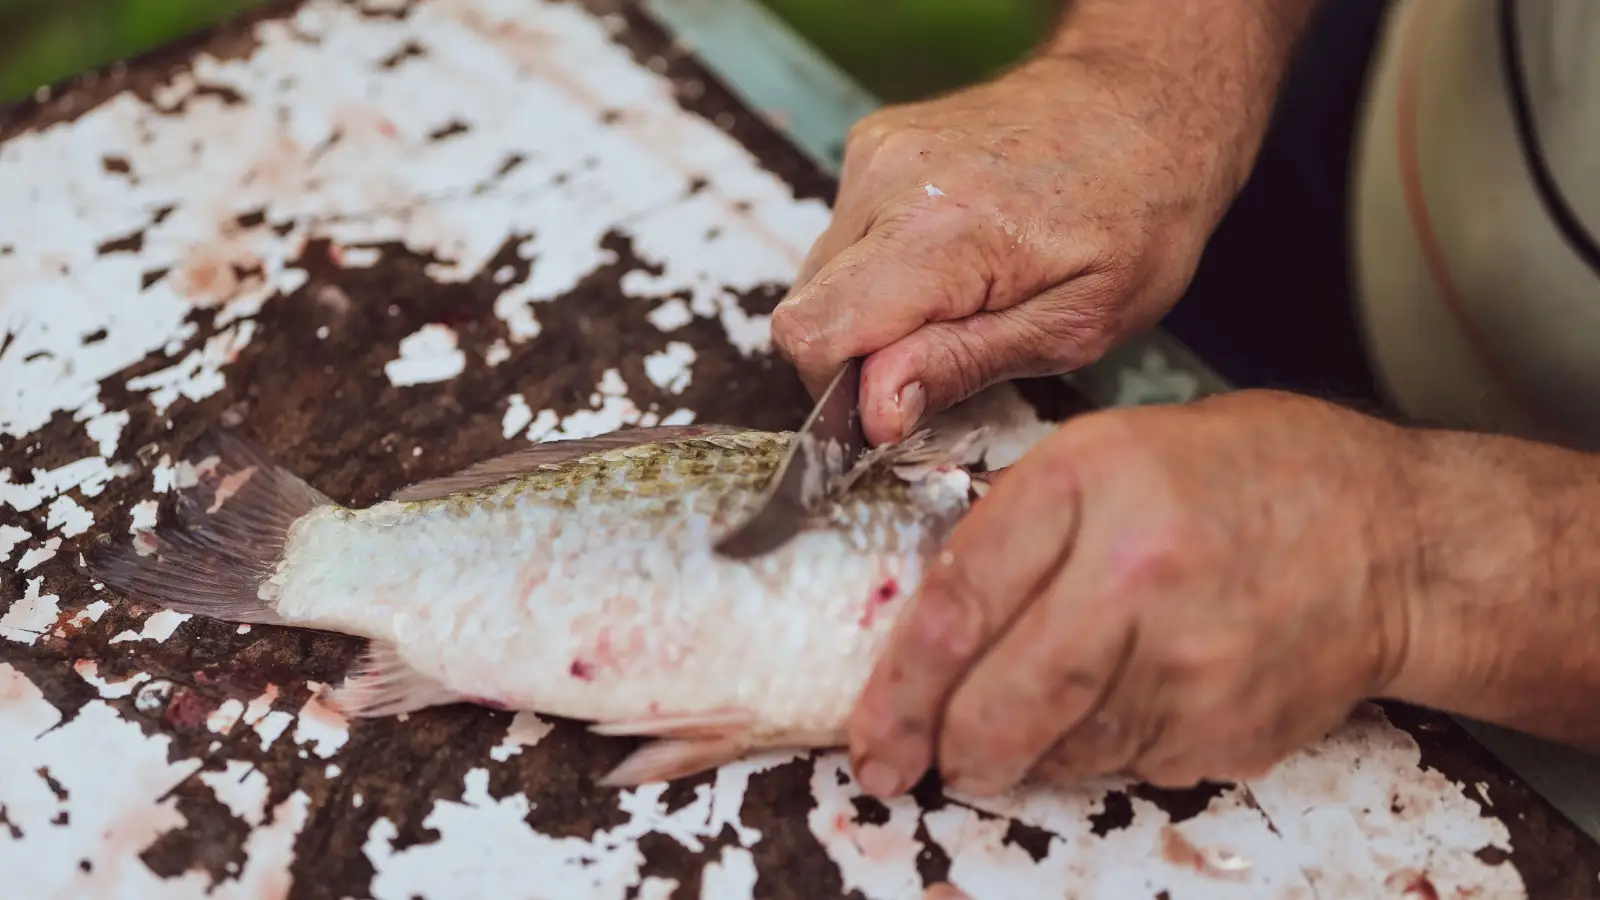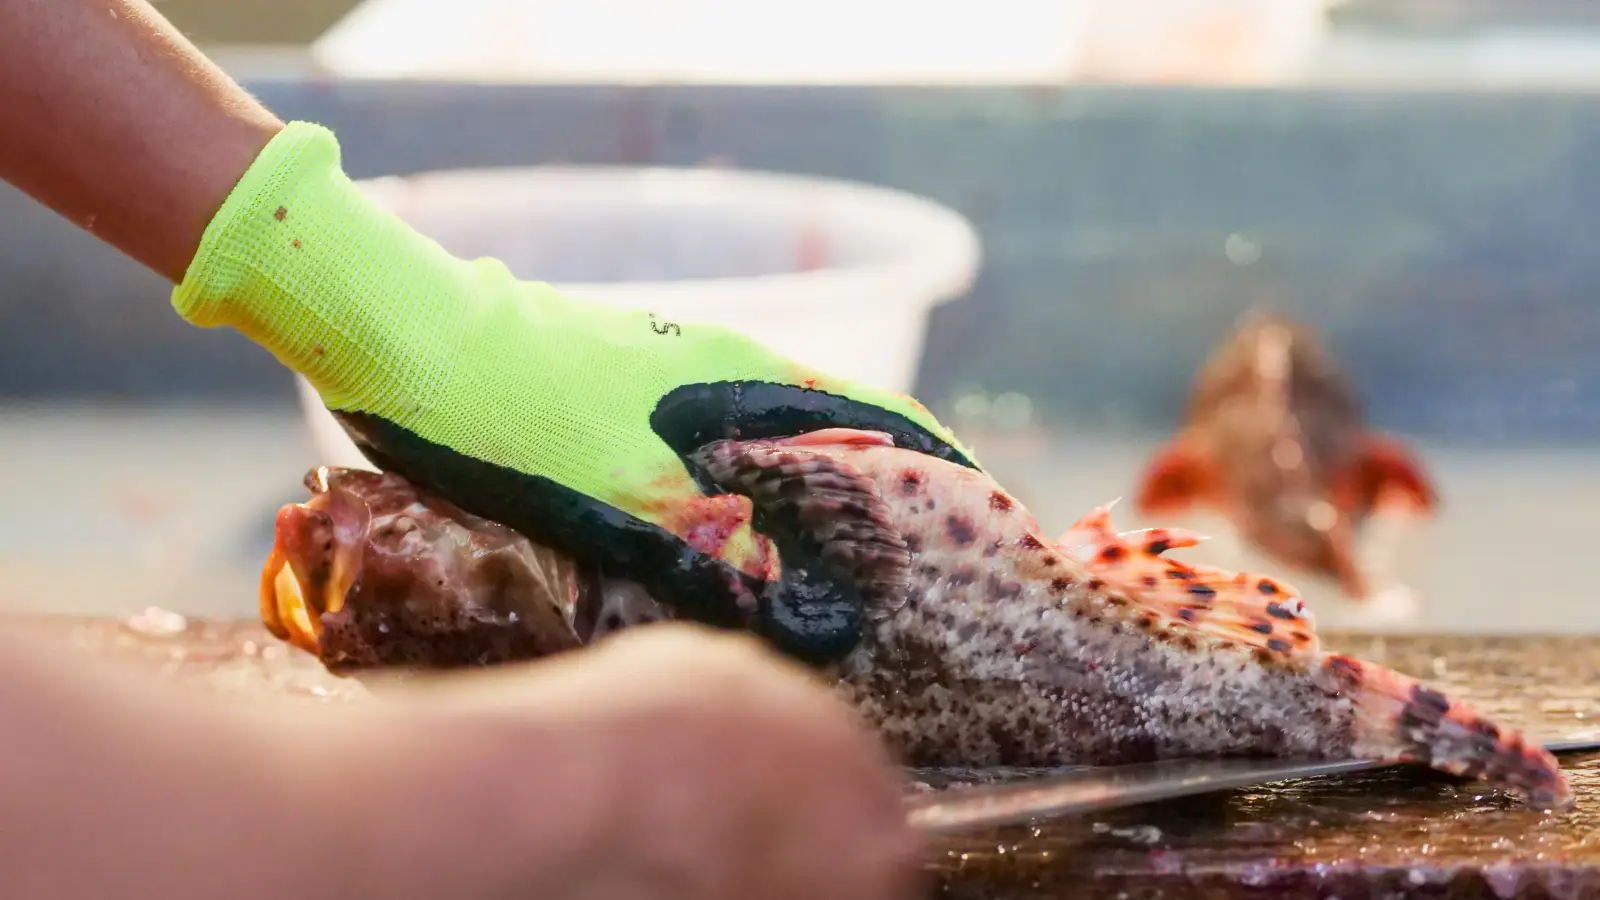
You can fillet any fish in three cuts when you match the sequence to its body shape. Round fish—bluegill, crappie, bass, walleye, catfish—take one cut behind the gill plate to the backbone, a second along the spine to free the meat, and a third to lift the skin. Flat fish—flounder, halibut—take a dorsal cut along the top edge, a ventral cut along the bottom edge, and a third to peel the fillet off the skin. All you need is a sharp flexible fillet knife and a stable cutting board.
A bluegill and a flounder are different animals when a knife hits them. Applying the same motion to both wastes good protein. That’s why this article splits the job into two clear paths—flat-fish filleting and round-fish filleting—and walks each through its own three-cut sequence. Once you identify what’s on the board, the steps are predictable and repeatable, no matter the size or species.
What You Need Before You Start Cutting
Three items decide whether you get clean slabs or a pile of shreds.
- Fillet knife — 6 to 7 inches, flexible. A stiff blade skips over bones; a flexible one tracks them. If catfish skin is in the plan, keep a separate stiff beater knife for the skin cut so you don’t dull your primary edge.
- Cutting board — Large enough to hold the whole fish flat, non-slip. A board that slides under pressure turns a routine cut into a safety risk.
- Glove or dry towel — A cut-resistant glove on the off-hand stops the blade from finding fingers when you bear down near the spine. A dry cloth gives grip on a slimy surface if no glove is available.
Put the fish on ice for at least 20 minutes before you pick up a knife. Cold, firm flesh separates cleanly; a warm, soft fillet tears and leaves a ragged edge. Bleed it immediately, pack it in ice, and wait.
Step-by-Step Instructions: Two Paths, Three Cuts Each
1. Identify Whether Your Fish Is Round or Flat
Lay the fish on the board and look at its cross-section. A round body is deeper from back to belly than side to side—bluegill, crappie, bass, walleye, catfish all fit here. A flat body is compressed side to side with both eyes on one surface—flounder, halibut, sole. That single decision dictates the entire cutting sequence.
Round fish give two fillets, one from each side. Flat fish give four fillets: two from the dark top side and two from the white bottom side. Bone structure differs completely, so the three-cut pattern must follow the appropriate bone lines.
2. Round Fish: Cut 1 – Behind the Gill Plate to the Backbone
Start at the top edge of the gill cover and slice downward at a 45-degree angle toward the center line. Stop when the blade contacts the spine. This opens access to the bone structure for the next cut. Cutting straight down wastes belly meat; the angle preserves it.
On a small panfish, this cut moves maybe an inch of blade. On a larger catfish, you’ll travel farther, but the angle doesn’t change. If you feel the blade hit the gut cavity, you’re too deep—back it out and stay above the ribs.
3. Round Fish: Cut 2 – Follow the Spine and Ribs to Free the Fillet
With the entry point from Cut 1, rotate the knife flat and run it along the backbone toward the tail. Use short saw strokes, keeping the blade angled down against the ribs. Let the knife’s flex trace the rib cage curve. The tip should skim, not bite. Stop when the flesh runs out at the tail.
The entire fillet should hang by a strip of skin at the belly and a thin layer at the ribs. If you meet resistance where the rib bones start, lift the knife tip slightly to clear them rather than cutting through. Bones left in the fillet ruin the point of this method.
4. Round Fish: Cut 3 – Remove the Skin (If You Want Skinless)
Lay the liberated fillet skin-side down. Grip the skin at the tail end—use a paper towel if it’s slippery—and slide the knife between skin and meat at a flat angle. Walk the blade away from you with short back-and-forth strokes. The motion peels the skin off cleanly.
Catfish skin changes the calculation. It’s thick and can grab the blade and tear the fillet. Switch to a stiffer knife for this cut, or skip it entirely and peel the skin off after cooking. A skin-on catfish fillet releases easily once it hits heat, and you avoid the ragged-edge risk during prep.
5. Flat Fish: Cut 1 – Dorsal Cut Along the Spine
Place the flat fish dark side up. Starting just behind the head, cut along the top edge parallel to the dorsal fin, running the blade tip against the spine. This outlines the largest portion of the fillet and gives you a flap to hold for the next cut. Stay against the bone, not through it; flat fish bones are thin and easy to nick.
6. Flat Fish: Cut 2 – Ventral Cut to Release the Fillet
From the same starting point near the head, cut along the belly contour to the tail, keeping the blade tight to the ribs. When the dorsal and ventral cuts meet at the tail, the fillet is attached by a thin layer of connective tissue along the center ridge. Use the knife tip to ease it free. Never pull the fillet—the tail end will tear.
7. Flat Fish: Cut 3 – Lift the Fillet Off the Skin
Set the freed fillet skin-side down. Work the knife under the fillet at the tail end and push forward at the lowest possible angle. The skin separates readily. Because flat fish fillets are thin, let the blade oscillate without downward pressure; the weight of the knife is enough.
Repeat all three cuts for each of the remaining three quarters—dark-side fillets and white-side fillets. One flat fish yields four clean pieces using the same sequence each time.
Mistakes That Turn Fillets Into Scraps
Skipping the Ice Bath Before Cutting
Warm flesh tears. A fish that hits the cutting board within minutes of landing hasn’t had time to firm up. Bleed it and bury it in ice for 20 minutes minimum. That wait is the cheapest way to improve every cut you make afterward.
Using One Knife Angle for Every Fish
A bass rib cage sits higher than a crappie’s, so the second cut needs a steeper angle to clear the bones. On a flat fish, cutting straight down like with a round fish will leave half the meat on the bone. The three cuts only work when the angle matches the shape. Adjust on the fly based on what you feel through the blade.
Pushing a Dull Blade
If the knife doesn’t catch on your thumbnail with light pressure, sharpen it. A dull edge forces you to saw harder, which tears muscle fibers and leaves a fuzzy fillet surface. For skinning catfish or other tough jobs, don’t force the flexible fillet knife into a role it can’t handle—grab a dedicated stiff blade instead.
Alternative Approaches When the Three-Cut Sequence Needs an Assist
Electric Fillet Knife for Heavy Work
On large catfish or striped bass, an electric fillet knife can speed up the round-fish cuts, especially the long stroke along the spine. The same three-cut logic applies, but the vibration can leave panfish fillets looking ragged, so save it for fish bigger than two pounds.
Skinning Pliers for Catfish
Skip the third cut entirely for catfish. Make a small incision at the tail, grab the skin with a set of fish-skinning pliers, and peel it off in one motion. No second knife needed, and the fillet stays whole. It takes practice to pull without tearing, but once you get the angle right, it’s faster than a blade.
Scaling Instead of Skinning for Thin-Skinned Fish
Bass, walleye, and some panfish have thin, edible skin that crisps well. Scale the fish before you fillet, then run only Cuts 1 and 2. Cook the fillet skin-side down. It saves time and gives a different texture, but only applies if you plan to eat the skin.
FAQ
Can I fillet a catfish in three cuts?
Yes, the round-fish three-cut sequence works. The only variable is the tough skin: handle Cut 3 with a stiffer blade, use skinning pliers, or leave the skin on to peel after cooking. The first two cuts—gill plate to spine and along the backbone—are identical to filleting a bluegill.
Do I gut the fish before filleting?
No. Filleting removes the meat without opening the belly cavity. Gutting is only necessary if you’re cooking the fish whole. As long as the first cut doesn’t puncture the gut, you never touch the innards.
What if I cut through the rib bones?
Stop and pull the knife out. Those rib pieces are now floating in the fillet. Slide the blade under them at a shallower angle to separate, or use needle-nose pliers to pull them out after the fillet is off. They’re easy to find by feel, and missing a few doesn’t ruin the fillet as long as you remove them before cooking.
Do flat fish always give four fillets?
Anatomically, yes—two from the dark upper side and two from the white lower side. On very small flounder, you can keep the top and bottom fillets connected along the lateral line for a single larger piece, but skinning becomes trickier. Treating each quarter as a separate fillet is the more reliable method.
How do I stop the fish from sliding on the board?
Place a damp paper towel directly under the fish, not under the board. A thin damp layer holds the fish in place without interfering with the knife. Wipe the board dry between fish to prevent water from pooling, which makes things worse.
Next Steps After You Master the Two Paths
You now know the two fish shapes and the three cuts each requires. Panfish, bass, walleye, catfish—all round fish—yield clean fillets when you follow that sequence. Flat fish like flounder and halibut follow a different path, but the logic holds steady.
Start with a small bluegill. The bones are fine and easy to read through the knife, which builds the round-fish muscle memory fast. Move up to a channel catfish or a keeper-sized bass next. For flat fish, pick a medium flounder—big enough to feel the bone structure, but thin enough that mistakes cost only a few slivers of meat.
Once you have a pile of fillets on ice, cook them simply. A hot skillet with a little oil and a dusting of cornmeal rewards the clean cuts better than any elaborate recipe. The point of learning this method is speed and a full yield every time, not a special-occasion technique.