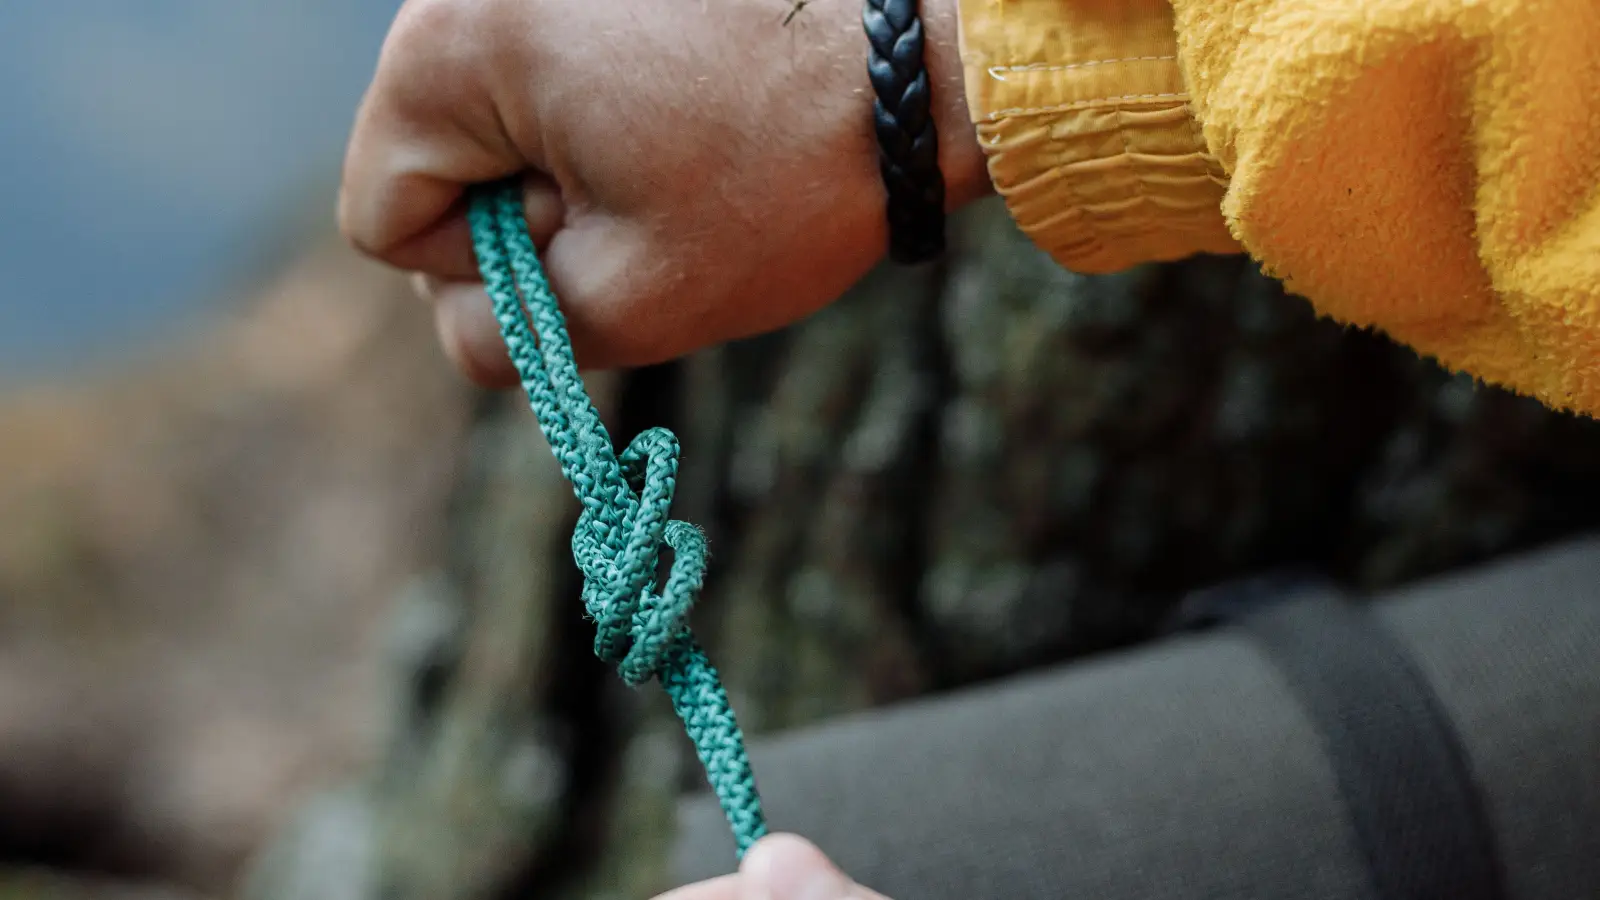
When a leader loop fails, it's almost always because the loop collapsed while the knot was being tightened or the coils didn't seat evenly. A simple tool—a nail, a bodkin, or the jaws of a pair of forceps—solves both problems at once. Instead of fighting to hold a loop open with your fingers while wrapping, you form the loop over a solid mandrel before you tie. The result is a perfectly sized, round loop every time, whether you're tying a Perfection Loop for a loop-to-loop connection or a Rapala knot straight to a lure.
This method removes the guesswork that makes loop knots feel unpredictable. By keeping the eye open and consistent, the tool allows each wrap to stack cleanly and the final knot to seat without binding. What follows is a reliable, step-by-step process that works at the bench or on the water, covering both knots with only minor differences in wrap counts and tag routing.
The Tool Method: A Step-by-Step Checklist for Perfect Loops
Follow these actions in order. The same tool technique works for both the Perfection Loop and the Rapala knot—only the wrap count and tag-end routing differ.
- Choose the right tool for your desired loop size
- Thread the line through the hook eye or swivel
- Form the first loop over the tool at the point where you want the knot to sit
- Make the required number of wraps with the tag end around the standing line (5 for Perfection Loop, 3 for Rapala)
- Bring the tag back through the initial loop in the correct direction (through the back for Perfection Loop, through the front for Rapala)
- Moisten the knot and pull evenly until the coils begin to tighten, but don't force it
- Slide the tool out and finish seating the knot with steady, firm pressure
- Test the loop by pulling sharply against a fixed point before attaching anything
Choose a Nail, Forceps, or Bodkin That Matches Your Loop Size
Pick a nail shaft, the tip of a pair of forceps, or a small dowel whose diameter equals the loop eye you want. A 3⁄32-inch nail gives a tight loop for small flies; a 1⁄8-inch tool or the wider portion of forceps jaws suits larger plugs and swimbaits. Choosing takes only a few seconds. The most common mistake is picking a tool that's too thin—it lets the loop collapse when you pull the knot tight. Too thick and you waste leader material and create a loop so large it may hinge under load.
Thread the Line Through the Hook Eye or Swivel Before Starting
Pass the leader through the eye of the lure, hook, or swivel you plan to use. Leave roughly 8 inches of tag end to work with. This step takes about 5 seconds. The common error is threading after you've already formed the loop; reversing the order twists the line and often forces you to start over.
Pinch the Loop Over the Tool at the Exact Spot You Want the Knot to Sit
Position the tool where you intend the final loop to begin—typically 1–2 inches from the tag end for a Perfection Loop, directly against the lure eye for a Rapala knot. Pinch the standing line and tag together with your thumb, then wrap the tag over the tool to create the first loop and hold it under tension. This takes roughly 15 seconds. A frequent mistake is allowing the loop to slip off the tool while you form the wraps; that shifts the loop size and makes the finished knot uneven.
Wrap the Tag End Around the Standing Line (5 Times for Perfection Loop, 3 for Rapala)
For a Perfection Loop, wrap the tag around the standing line 5 times moving away from the loop. For a Rapala knot, make 3 wraps moving back toward the loop—this is the standard Rapala wrap count. Keep each wrap snug with your thumb. This step takes about 20 seconds. The most common error is using too few wraps, which causes the knot to slip; too many wraps can jam and prevent the coils from stacking properly.
Bring the Tag Back Through the Initial Loop in the Correct Direction
For the Perfection Loop, the tag must pass through the back of the loop—the side opposite the tool. For the Rapala knot, feed the tag from the front through the loop, then back through the larger loop that formed behind the wraps; that's the classic Rapala finish. This step takes about 10 seconds. Passing the tag the wrong way can let the knot invert under tension, weakening it significantly.
Moisten, Then Pull Evenly Until the Coils Begin to Tighten
Apply saliva or water to the wraps. Pull both the standing line and tag end steadily, watching the coils stack toward the loop. Stop just before they lock tight—you still want the tool to slide freely. This takes around 15 seconds. The most common mistake is yanking before moistening, which generates heat and weakens the line. Pulling too tight too early also traps the tool, forcing you to cut and start over.
Slide the Tool Out and Finish Seating the Knot
While maintaining light tension, gently wiggle the tool free. Once it's out, pull firmly to cinch the coils into a compact barrel shape. Because you kept the tool in place through the wrap and moistening stages, the loop stays round and open. This takes about 10 seconds. Removing the tool too early shrinks the loop; pulling the tag end drastically before the standing line can create a stress point that snaps under load.
Test the Loop Before You Trust It
Grip the standing line and the loop with pliers or your fingers and give a sharp, quick pull. The knot should hold without any slippage. If it moves, cut it off and retie—it's far cheaper than losing a fish. Testing takes about 10 seconds. Skipping this simple check is the most expensive shortcut you can take.
Final Verification: Is Your Loop Ready?
Before you tie on a fly, lure, or leader, run through these checks:
- The loop is the exact size you intended—no smaller or larger.
- All coils are tight, evenly stacked, and lie flat against the standing line.
- The tag end is trimmed cleanly, leaving about 1/8 inch so it doesn't pull through.
- There are no flat spots, burn marks, or shiny abrasion on the line at the knot.
- The knot passed the sharp pull test without slipping.
Quick Reference: Loop Knot Specs to Save
Print this or keep it in your phone for the next time you're at the bench:
| Knot | Wraps | Tag Through | Tool Size |
|---|---|---|---|
| Perfection Loop | 5 | Back of loop | 3/32" nail for small flies; 1/8" for larger loops |
| Rapala Knot | 3 | Front, then back through large loop | Fine forceps tip or 1/16" nail |
Key reminders:
- Always moisten before pulling.
- Slide the tool out only after the coils start to snug, not before.
- Test every knot before fishing.
FAQ: Loop Knots with a Tool
Why does using a nail or forceps help so much with loop knots?
A tool acts as a mandrel, holding the loop open to a consistent size while you wrap and tighten. Without one, the loop often collapses unevenly, which creates weak points or a misshapen eye.
Can I use a toothpick if I don't have a nail handy?
Yes. A round toothpick works, but be careful not to splinter the wood against your line. Avoid pointed metal picks that could nick or cut the leader.
Does this tool method work with fluorocarbon leader material?
It does, but fluorocarbon is stiffer and more prone to heat damage. Moisten extra thoroughly and pull with slow, even pressure to avoid glazing the line.
How do I decide what loop size to use?
Match the loop diameter to the lure eye or swivel. A loop that's too large can hinge and weaken the connection; one that's too small restricts movement. Most freshwater leaders use a loop between 1/8" and 1/4".
What's the difference between a Rapala knot and a Perfection Loop for leader connections?
The Rapala knot attaches directly to a lure and provides a non-slip loop that lets the lure move freely. The Perfection Loop creates a loop at the end of a leader for loop-to-loop connections or tying on a fly. Both benefit from the tool method because it prevents the loop from collapsing during the tighten.
When the loop comes off the tool, it's uniform, strong, and ready for action. That single addition—a nail or forceps—turns a struggle into a repeatable routine. Next time, keep a dedicated tool on a retractor and practice the wrap counts until they become automatic. With that, you'll tie a flawless loop in under a minute, every time.